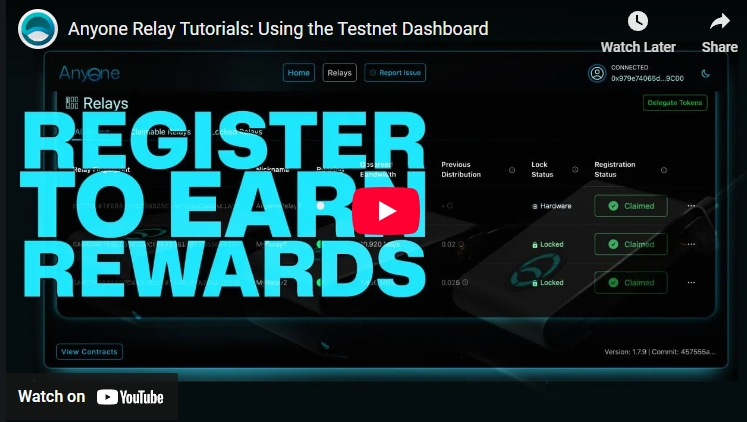
Registering Relays
To register your relay and begin earning rewards, follow these steps to set up your machine and complete the registration process on the Anyone Protocol Dashboard.
If you have a Anyone Hardware Relay, you do not need to lock tokens—simply claim the device once it's set up.
Contents of this page:
Installation and Configuration
Adding Ethereum Wallet Address to anonrc
Using the Dashboard to Claim and Manage Your Relays
Installation and Configuration
Install the Anon package and configure your relay.
Anyone Hardware devices
Follow the instructions provided in the Hardware section, Setup Guide or Relay Settings to enter your Ethereum Address. Anyone Hardware relay Setup Wizard: 🔗 Hardware Setup > 🔗 Setup Guide To manually edit the address and NFT info in the Control panel visit:
🔗 Hardware Setup > 🔗 Relay Control Panel > 🔗 Relay Settings
Standalone devices
Follow the instructions provided in the Installation section to get started setting up a relay and configure your
🔗 Relay Setup > 🔗 Installation and Usage > 🔗 Setting up Your Environment
If you already have a relay running, continue reading!
Adding Ethereum Wallet Address
Add your wallet address to the anonrc file to link it with your relay for rewards.
Debian example: Open the anonrc file in a text editor:
Find the ContactInfo line, and add your wallet address with the prefix @anon: .
Restart the Anon service to apply the changes:
Using the Dashboard to Claim and Manage Your Relays
Once your machine is set up, follow these steps to connect your wallet, lock tokens (if necessary), and claim your relay via the Anyone Protocol Dashboard.
Using Dashboard(Note that it can take a few hours for the device to show up on the dashboard after registering the address in the configuration of your relay)
Last updated
