Using Dashboard
This guide will help you navigate the Anyone Protocol Rewards Dashboard and manage your relay operations. On this page you will find the actions you can perform, with detailed instructions.
Contents of this page:
Locking Anyone Tokens - (Not required for Anyone Hardware Relays)
Connecting EVM Wallet
Connect your Ethereum wallet to the dashboard.
Ensure that your wallet is connected to Ethereum Mainnet, which comes as a default setting in most wallets (see Status & Term History for information on mainnet $ANYONE rewards).
Open the Anyone Protocol Dashboard in your browser.
Click Connect Wallet in the top-right corner.
Choose your wallet provider (e.g. MetaMask).
Follow the prompts to authorize the connection.

Once connected, after a brief loading period, relay information will be accessible from the dashboard's Relay tab.
Locking Anyone Tokens
This step is not required for Anyone Hardware Relays. Continue to 'Claim Registered Relays'..
Delegated Locking We have revamped the delegated lock to remove the risk of manipulation and add a layer of privacy. These locks works on the protocol level but will not show up by default on the dashboard. Look out for an announcement shortly on how this mechanism works!
Under both Relays > All Relays and Claimable Relays, you'll find to the "Lock 100 $ANYONE" button.
Proceed by locking the relays you wish to claim.
Confirm the transactions using your wallet. There will be two interactions.
Spending Cap Request and,
Send and lock 100 $ANYONE.

Once completed, your relays will be eligible to claim.
Claim Registered Relays
Once validated through a lock or with a Hardware relay, you can claim your relays to start redeeming your rewards
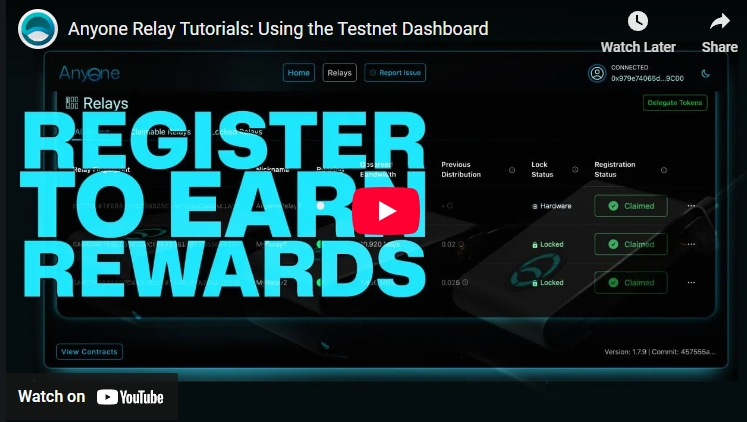
In the Relays section of the dashboard, select the relays you wish to claim.
Confirm the action by signing the authentication with your wallet.
Claim Anyone Hardware Relay:

Claim Regular Relay:


Your relays are now claimed and registered. You’ll be accumulating rewards over time. Come back to the dashboard again, later, and Redeem some rewards..
Redeem Contribution Rewards
To redeem your accumulated rewards, go to the Home page of the Dashboard
You’ll see the total $ANYONE tokens available for redemption.
Click the Redeem Rewards button and confirm the transaction using your wallet.
Rewards will be added to your Available balance on the dashboard.

Renounce Claimed Relays
If you want to migrate a fingerprint to another wallet, first change the wallet for the relay, then follow these steps.
Select the fingerprint, click on the three dots next to it, and choose Renounce.

Sign the two transactions. These transactions do not require any gas fees.

The claimed fingerprint will show a loading animation and then disappear from the dashboard.

Last updated
