[beta] One-click Windows
Step-by-Step Instructions for Using the Anon Proxy Script
Download the Zip File
Download the provided .zip file from the source below.
Save it to your preferred location on your computer, such as the Desktop or Downloads folder.
Extract the Contents
Right-click the downloaded .zip file.
Select "Extract All..." from the menu.
Choose a location to extract the files, and then click Extract. This will create a folder containing all the necessary files (e.g., start_proxy.bat, anon.exe, and other files).
Locate the
start_proxy.batfile
Open the folder where you extracted the contents.
Find the file named start_proxy.bat in the folder.
Run
start_proxy.bat
Double-click the start_proxy.bat file to start the proxy setup process.
If prompted by Windows Defender SmartScreen, click More info and then select Run anyway to proceed.
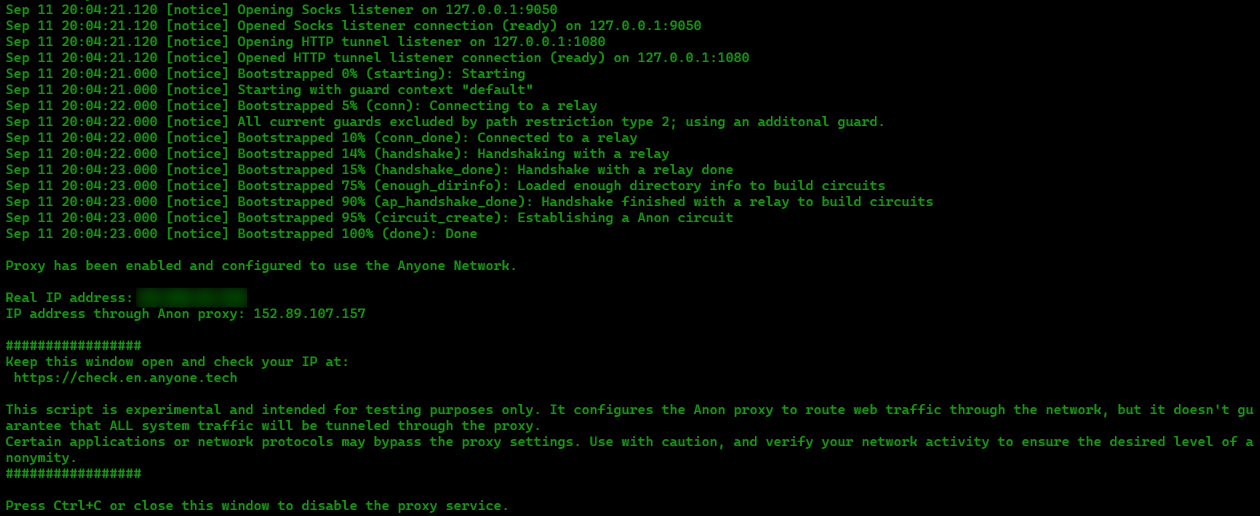
A Command Prompt window will open and begin the process of configuring and starting the proxy.

Keep the Terminal Window Open
The script will show your real IP address and the IP address used via the proxy. You will also see a disclaimer that this setup is experimental and that not all traffic is guaranteed to go through the proxy.
Verify Your IP
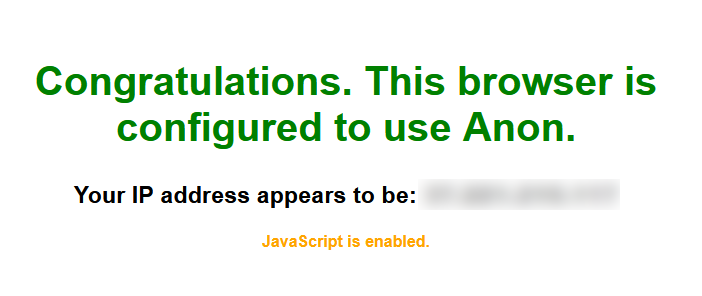
To verify your connection, visit the following website in your browser: https://check.en.anyone.tech

Compare the IP address shown on the website with the proxy IP address displayed in the terminal.

Stopping the Proxy
The proxy will continue running while the terminal window is open.
To stop the proxy and reset your network settings:
Close the terminal window by clicking the "X" button in the top-right corner or pressing Ctrl + C in the terminal.
Your internet settings will be reset to normal after closing the window.
Important Notes This script is experimental and may not tunnel all traffic through the proxy. Some applications or protocols may bypass the proxy settings. Always verify your network activity and use this script with caution for testing purposes.