Anyone Docs
  • 🔷The Documentation For Anyone
    • About
    • FAQ
  • 🔷Relay Setup
    • Get Started
    • Relay Operator Standards
    • Installation and Usage
      • Virtualization on Windows
      • Virtualization on macOS
      • Install Ubuntu Server 24.04
      • Server management with SSH in Windows and macOS
      • Install Anon on Linux
      • Firewall and Network Configurations
        • Router Port Forwarding
        • Install and Configure Firewall
      • Troubleshooting Common Issues
        • Diagnosing CGNAT and Public IPv4
        • Confirm ORPort Reachability
        • Configure IPv4 and IPv6
      • Advanced Configuration
        • Install Anon using the apt repository
          • Binary Verification
        • Install Anon in Docker
        • Install Anyone Exit Relay
          • Exit Relay Guidelines
        • DoS mitigation parameters
        • Update Anon and accept terms and conditions
        • Configure SOCKS5 Proxy for Anyone
  • 🔷Hardware Setup
    • Setup Guide
    • Router Mode Setup
    • Description and Specifications
    • Relay Control Panel Pages
      • Home
      • Network Settings
      • Relay Settings
      • Relay Family
      • Proxy Settings BETA
      • Change Password
      • Logs
      • Update
    • Hardware Updates
      • System Update (USB)
      • System Update (WebUI)
      • Anon Update (WebUI)
    • Troubleshooting and additional configuration
      • Router Port Forwarding
      • Diagnosing CGNAT and Public IPv4
  • 🔷Security and Privacy
    • VPS Hardening
  • 🔷Rewards Dashboard
    • Registering to the Rewards Program
    • Accessing the Rewards Dashboard
    • Using the Rewards Dashboard
    • Rewards Status
  • 🔷Anyone SDK
    • NPM SDK
      • Install NPM Package
      • Run as Library
        • Anon
        • AnonSocksClient
        • AnonControlClient
      • Run from CLI
      • Tutorials
        • Hello Anon World I
        • Hello Anon World II
        • Circuit Control I
        • Circuit Control II
    • Native SDK
      • Anyone Client Releases
      • MAN - Anon Manual
      • Tutorials
        • Anyone Services I
        • Anyone Services II
    • iOS SDK [Beta]
      • Manual Install - CocoaPods
  • 🔷Connect to Anyone
    • Connecting to Linux
      • [Beta] One-Click Linux Setup
    • Connecting to macOS
      • macOS with NPM
      • [Beta] One-Click macOS Setup
    • Connecting to Windows
      • [Beta] One-Click Windows Setup
    • Individual Applications with Anyone
    • Connect Through Hardware
  • 🔷Tokenomics
    • Introduction
    • Token Distribution
      • Token Outflow
      • Other Tokens
      • Multichain
    • Relay Rewards
      • Lock Requirement
      • Lock Adjustments
      • Reward Multipliers
    • Additional Roles
      • Authorities and Staking
      • Governance Voting
    • Premium Circuits
      • Premium Circuits
      • Premium Circuits: Metrics
    • Summary
      • Value Accrual Summary
      • Rewards Case Study
    • Appendix
      • M Derivation
      • Risk Equation Derivation
  • 🔷Resources
    • Community and Customer Support
    • Links
    • Token
    • Whitepaper
    • Roadmap
    • API
      • REST
      • [Future] GraphQL
Powered by GitBook
On this page
  • Prepare Installation files for the VM
  • 1. Download VirtualBox
  • 2. Install VirtualBox
  • 3. Launch VirtualBox
  • 3. Create a New Virtual Machine
  • 4. Configure the Virtual Machine:
  • 5. Edit the Network Adapter for the Virtual Machine:
  • 6. Detachable Start
  • Next step
  1. Relay Setup
  2. Installation and Usage

Virtualization on Windows

This page will guide you on how to install the VirtualBox virtualization tool on Windows and how to create a Virtual Machine running Ubuntu Server 22.04 LTS.

Last updated 9 months ago

Some operators opt not to use virtualization and instead choose dedicated hardware such as the Anyone Router, a standalone device, a Virtual Private Server (VPS), or an arm64 microcontroller like a Raspberry Pi.

In such cases, the anon binary can be installed directly on the operating system without virtualization by installing Debian or Ubuntu and setting up the Anon package with bash.

Prepare Installation files for the VM

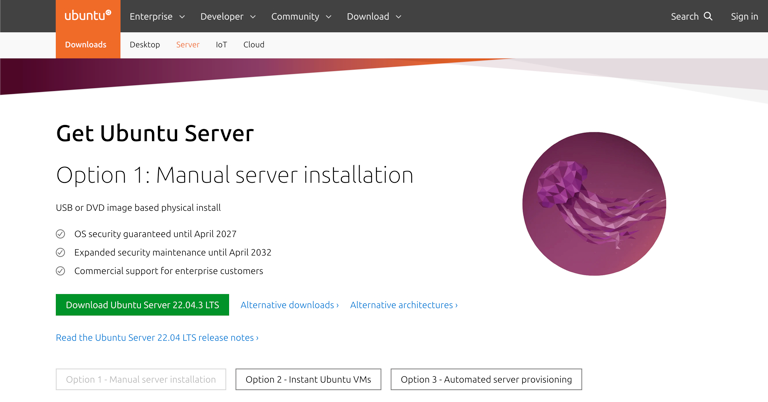
Download Ubuntu Server from the official Ubuntu website by following the link below. On the website, click the "Download" button to retrieve the file named "ubuntu-<version>-live-server-amd64.iso".

1. Download VirtualBox

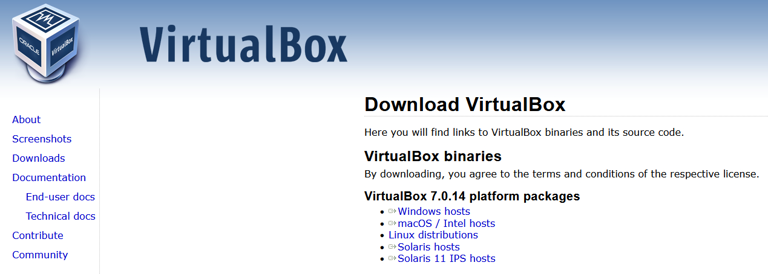
Download VirtualBox from the official website: https://www.virtualbox.org/wiki/Downloads. Select the package that matches your operating system. VirtualBox is compatible with Windows, macOS (Intel only), and Linux.

The Operating System must have Microsoft Visual C++ Redistributable 2019 installed and Virtualization enabled in BIOS

2. Install VirtualBox

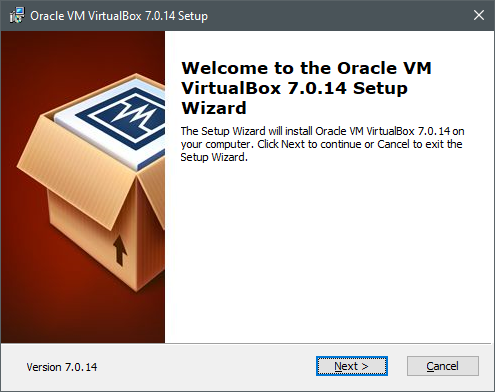
Execute the installer and adhere to the on-screen prompts to install VirtualBox on your computer. The installation steps may differ based on your operating system, but it's typically a straightforward process. Ensure you read and agree to the license agreement as part of the installation procedure.

3. Launch VirtualBox

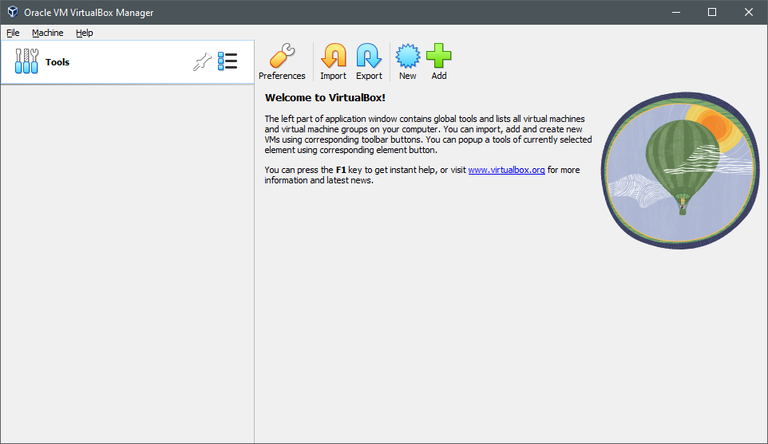
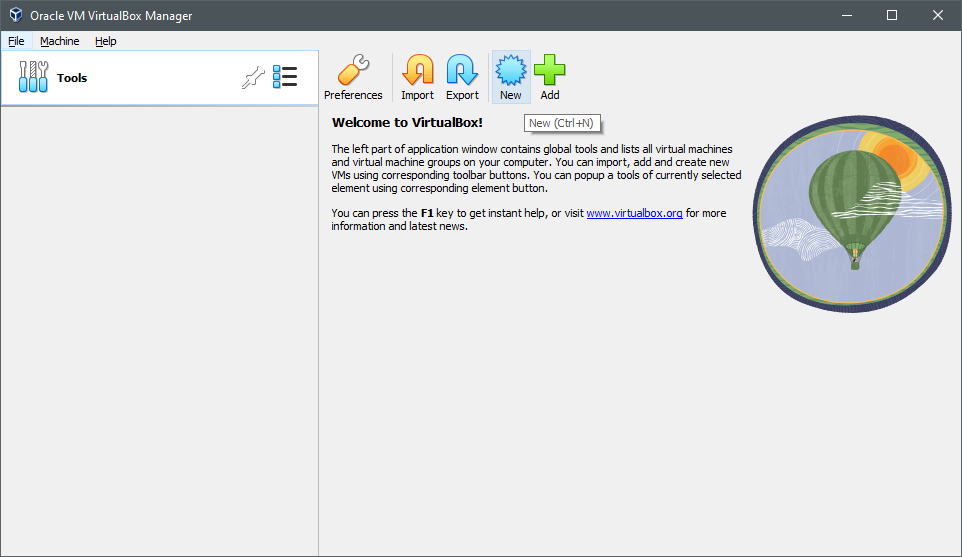
Once the installation is finished, open VirtualBox. The VirtualBox Manager window, the primary interface for managing your virtual machines, should appear.

3. Create a New Virtual Machine

In the VirtualBox Manager window, click on 'New' to initiate the creation of a new virtual machine.

4. Configure the Virtual Machine:

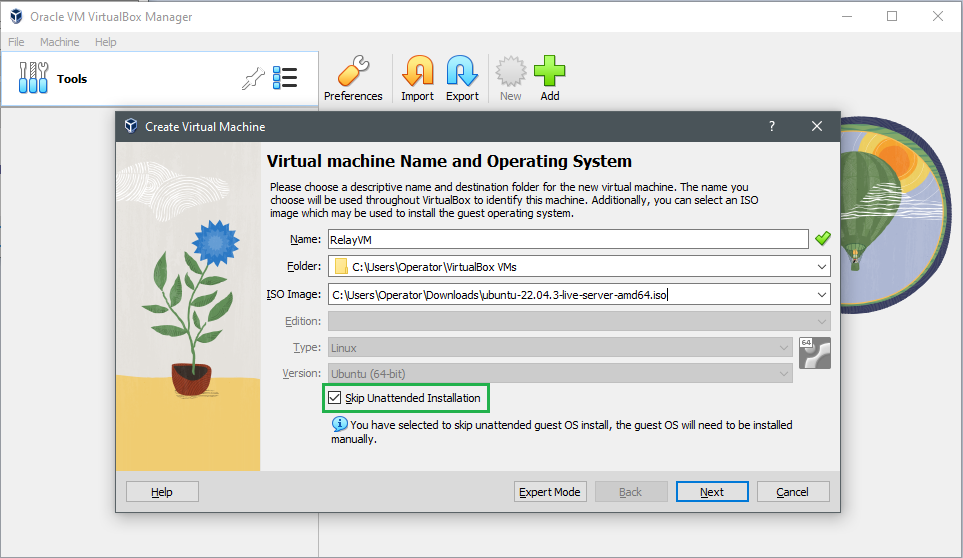
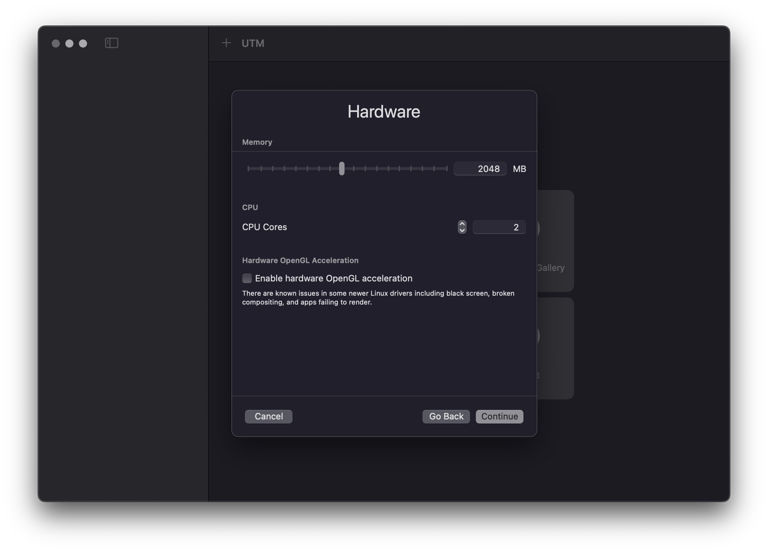
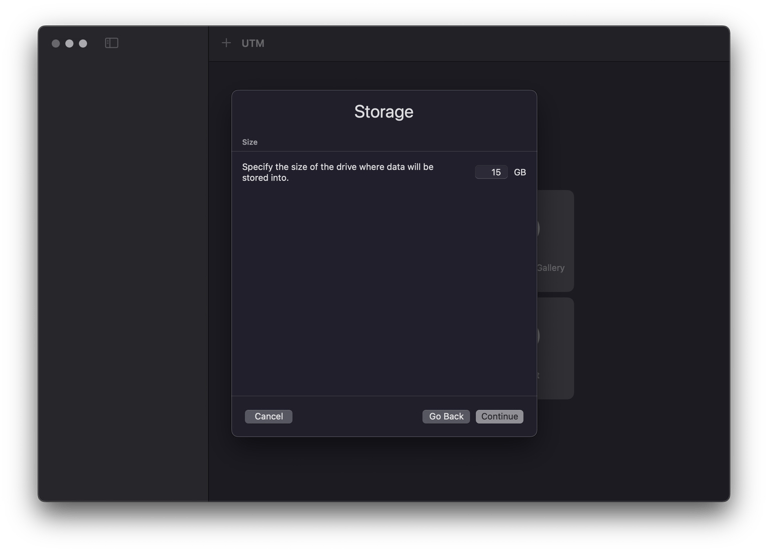
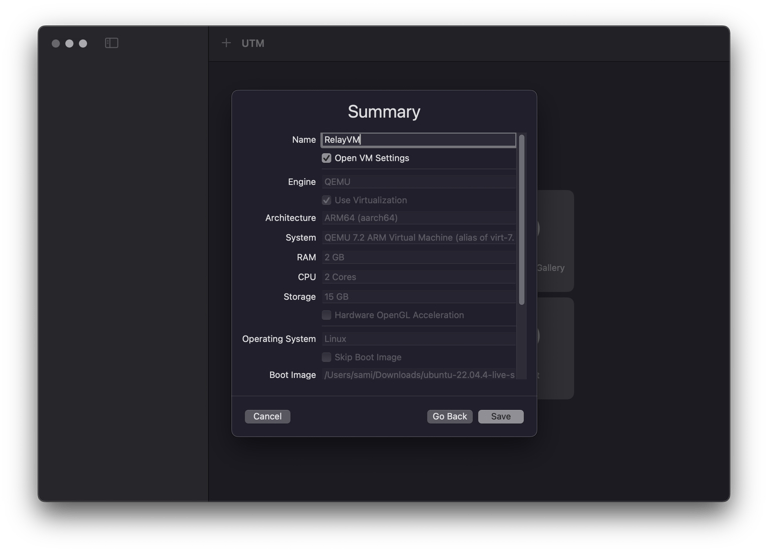
a. Provide a preferred name for your virtual machine b. Browse and select the ISO image downloaded in preparation c. Check the box for 'Skip Unattended Installation' d. Allocate Memory (RAM); a minimum of 2 GB is sufficient e. Allocate processors (CPU); a minimum of 2 CPU is sufficient f. Choose disk size; a minimum of 15GB is sufficient g. Press 'Finish' when all changes have been made

5. Edit the Network Adapter for the Virtual Machine:

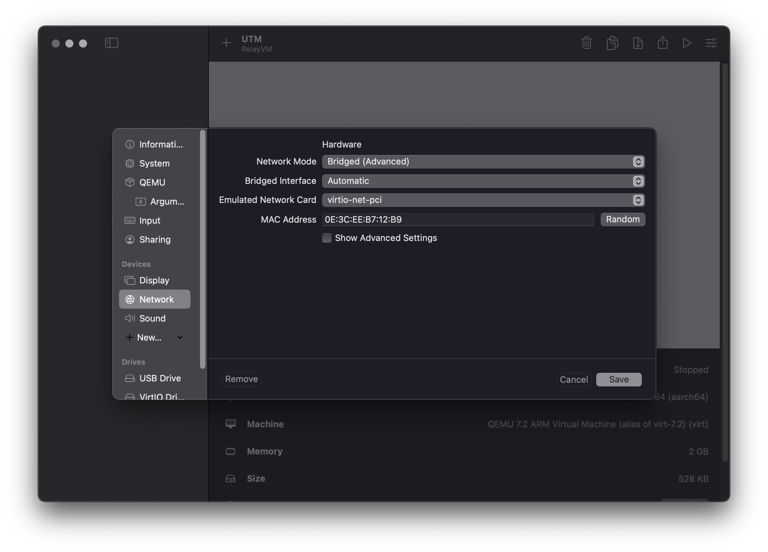
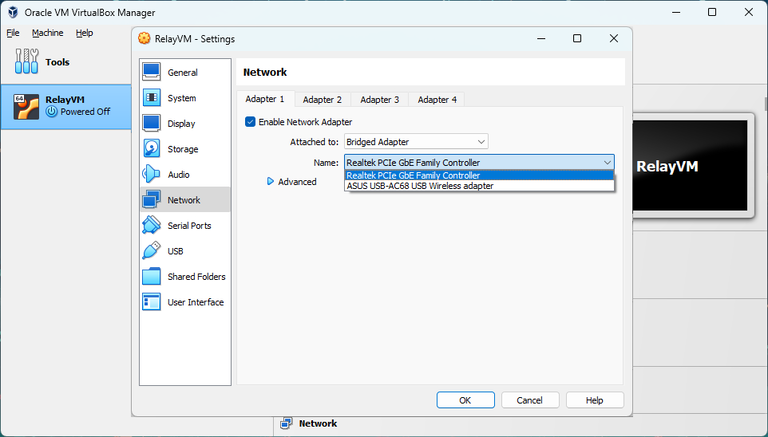
a. Right-click the Virtual Machine, select 'Settings', and go to the 'Network' tab. b. Change 'Attached to:' to 'Bridged Adapter.'

Depending if you want your VM to use Wireless or wired Ethernet Connection, change 'Name' to the adapter of your choice and keep in mind that this name may vary depending on your hardware.

6. Detachable Start

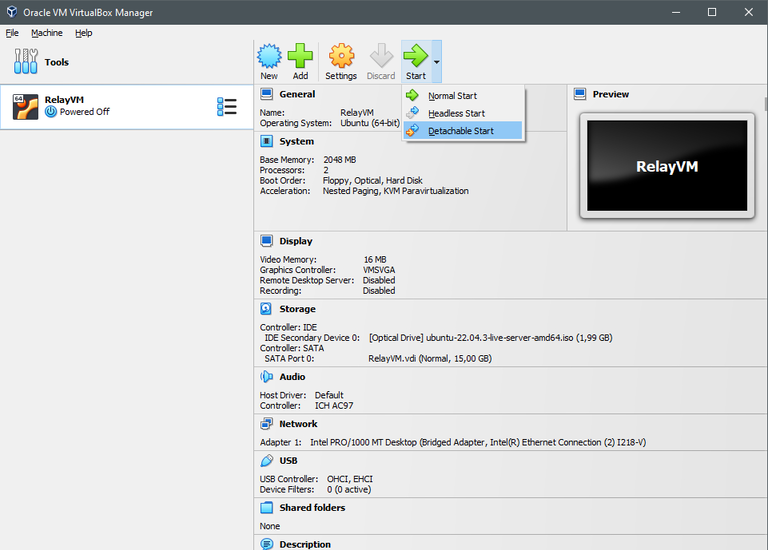
Click the small arrow next to 'Start' and choose 'Detachable Start'. This allows you to close the console window later on.


Next step

To continue the installation of the Operating System Ubuntu Server 22.04 on your VM, visit the following page:

🔷
Install Ubuntu Server 24.04
Get Ubuntu Server | Download | UbuntuUbuntu
Logo