Relay Mode
This guide will walk you through setting up your Anyone Hardware Relay using either a wireless or wired connection to access the internet. Let's #RelayUp!
1. Powering up the Device
Begin by connecting the power cable to a suitable power outlet with minimum 15W at (5V 3A) and plug the supplied USB-C connector into the rear of the Relay.
The Relay will boot up, and you will see green lights rotating.

2. Wait for the Device to start
Once started, it will display a steady red light.

If the all lights of the Relay are pulsing in Red as shown below, ensure that you are using a power outlet with minimum 15W at (5V 3A), or the Relay will not function properly!

3. Enabling the WiFi Pairing mode
Press and hold the blue physical button on the side of the device for 3 seconds and release it to activate the setup mode. The top part of the lights will pulse blue when the WiFi hotspot is enabled and ready for connections.

4. Connect to the activated WiFi hotspot.
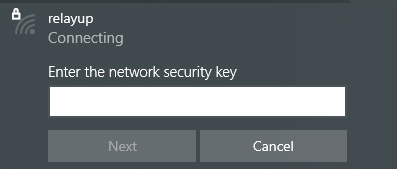
You can now connect to the Relay via WiFi to proceed with the setup, scan for nearby devices, connect to relayup_<yourserialID> where the SSID contains your relays serialID.
Use the following credentials:
SSID: relayup_<yourserialID>
Pre-shared key (PSK): anyone.io
(Relays on versions below 2.0.0 should use PSK: ianon.io)
5. Access the Setup Wizard
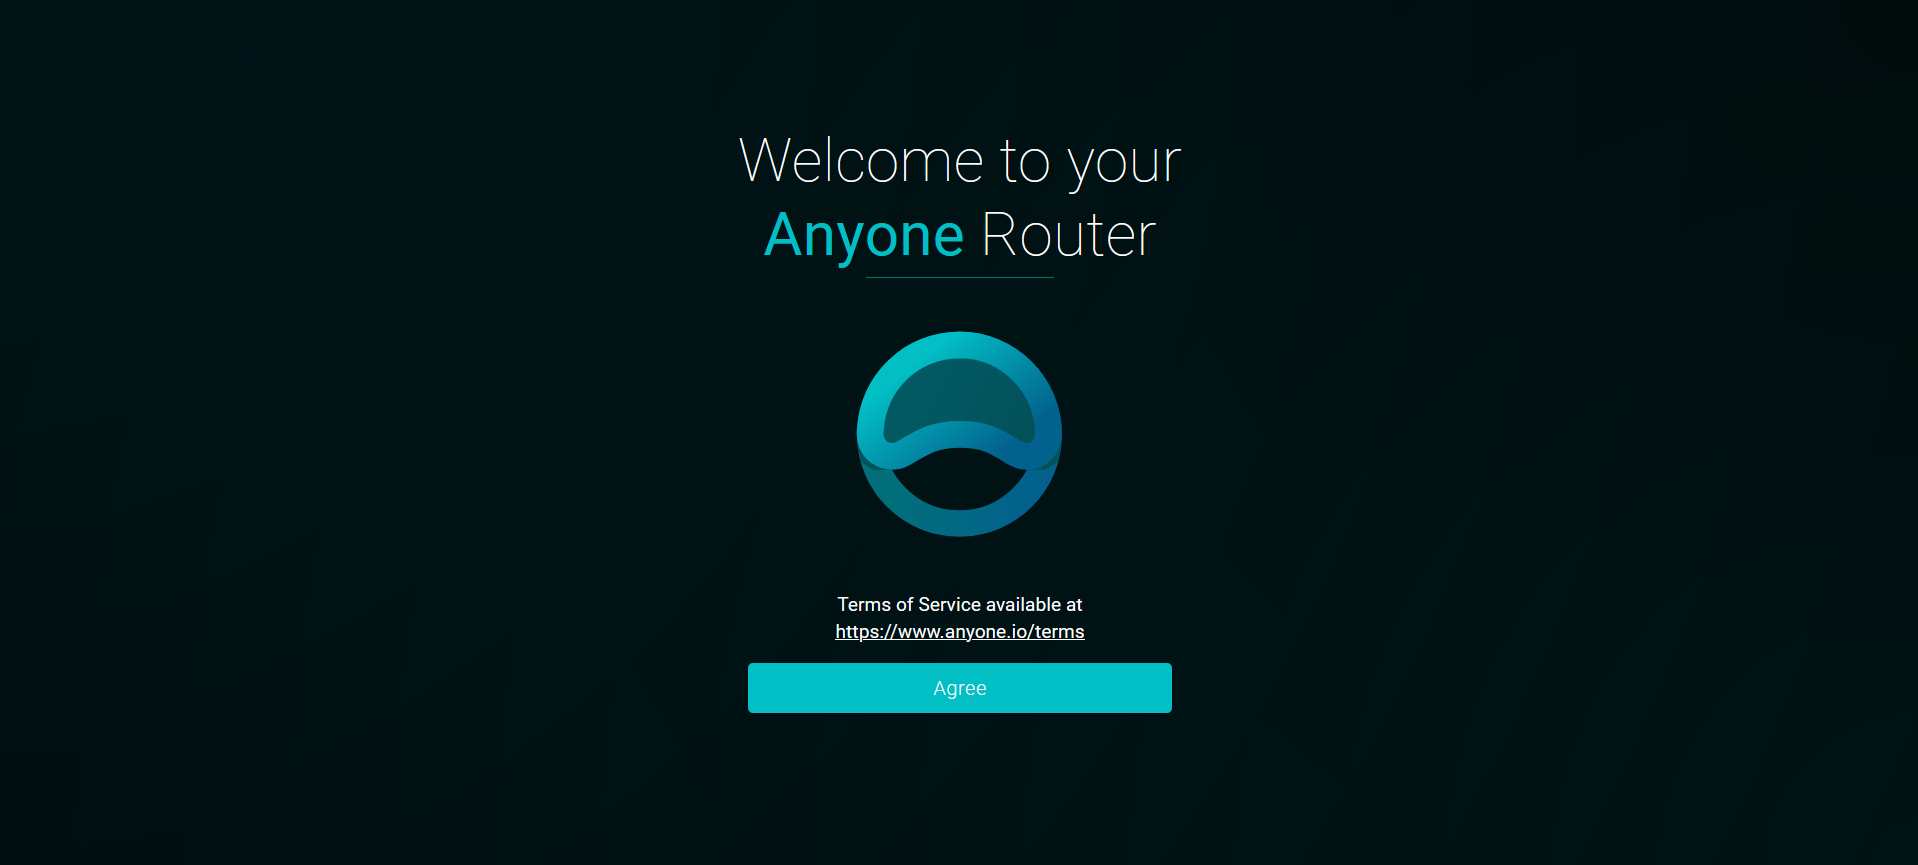
If the captive portal doesn't open automatically in your browser, navigate to http://relayup.home, or via the IP, http://10.42.0.1 Alternatively, access your relay on the Ethernet IP address to set it up, but remember to activate the setup mode in Step 3 first.
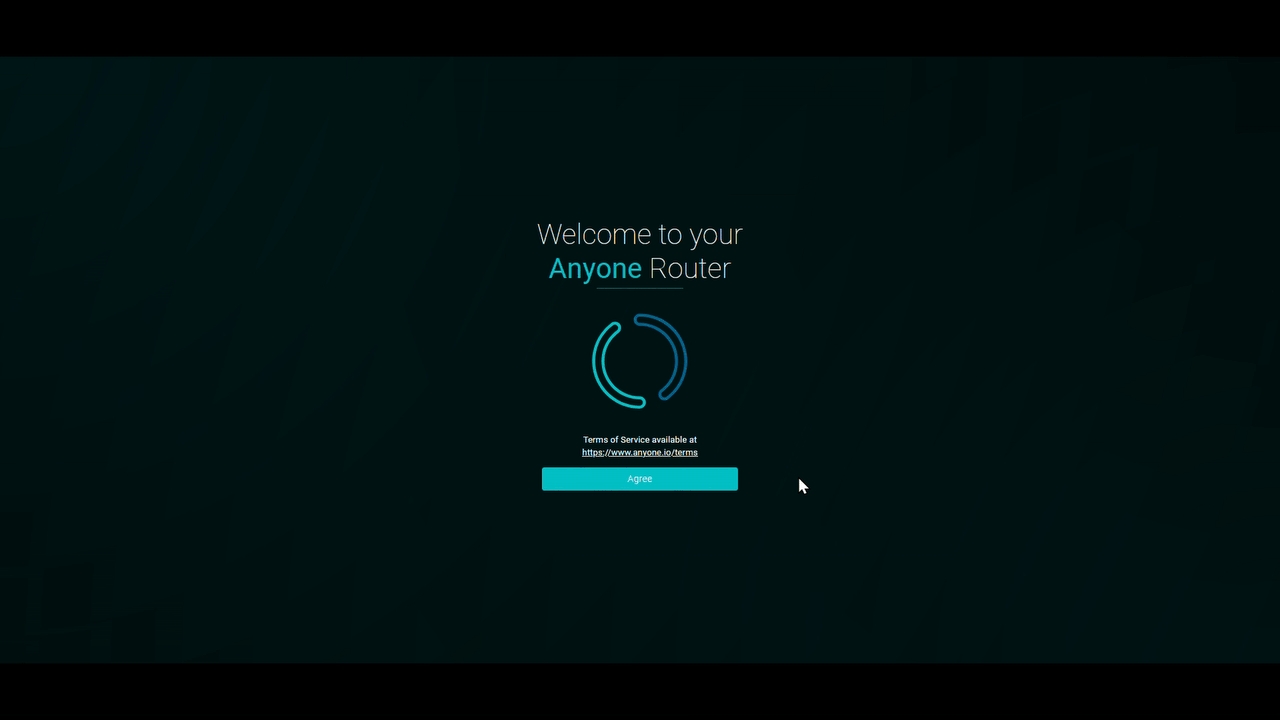
Read and Agree to accept the Terms of Service if you wish to proceed.
6. Authenticate to proceed with the setup
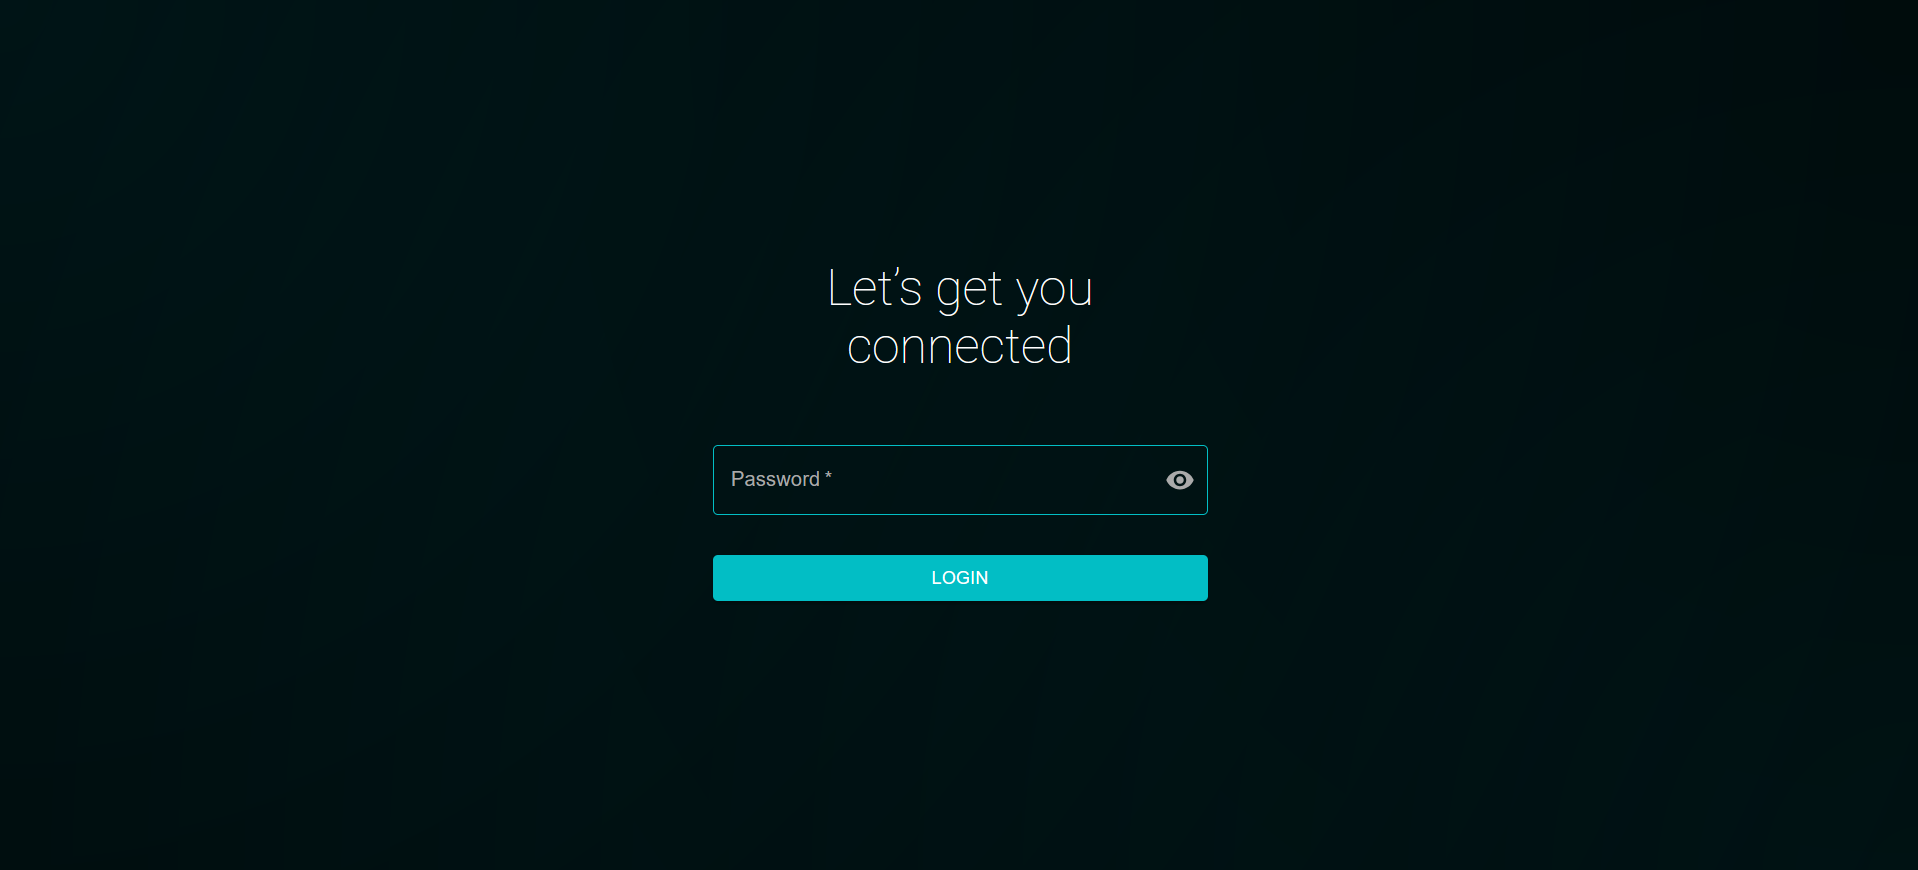
Log in with the default credentials below and proceed following the instructions. (You can change this password in the control panel after setup.)
Default password: admin
7. Mode selection
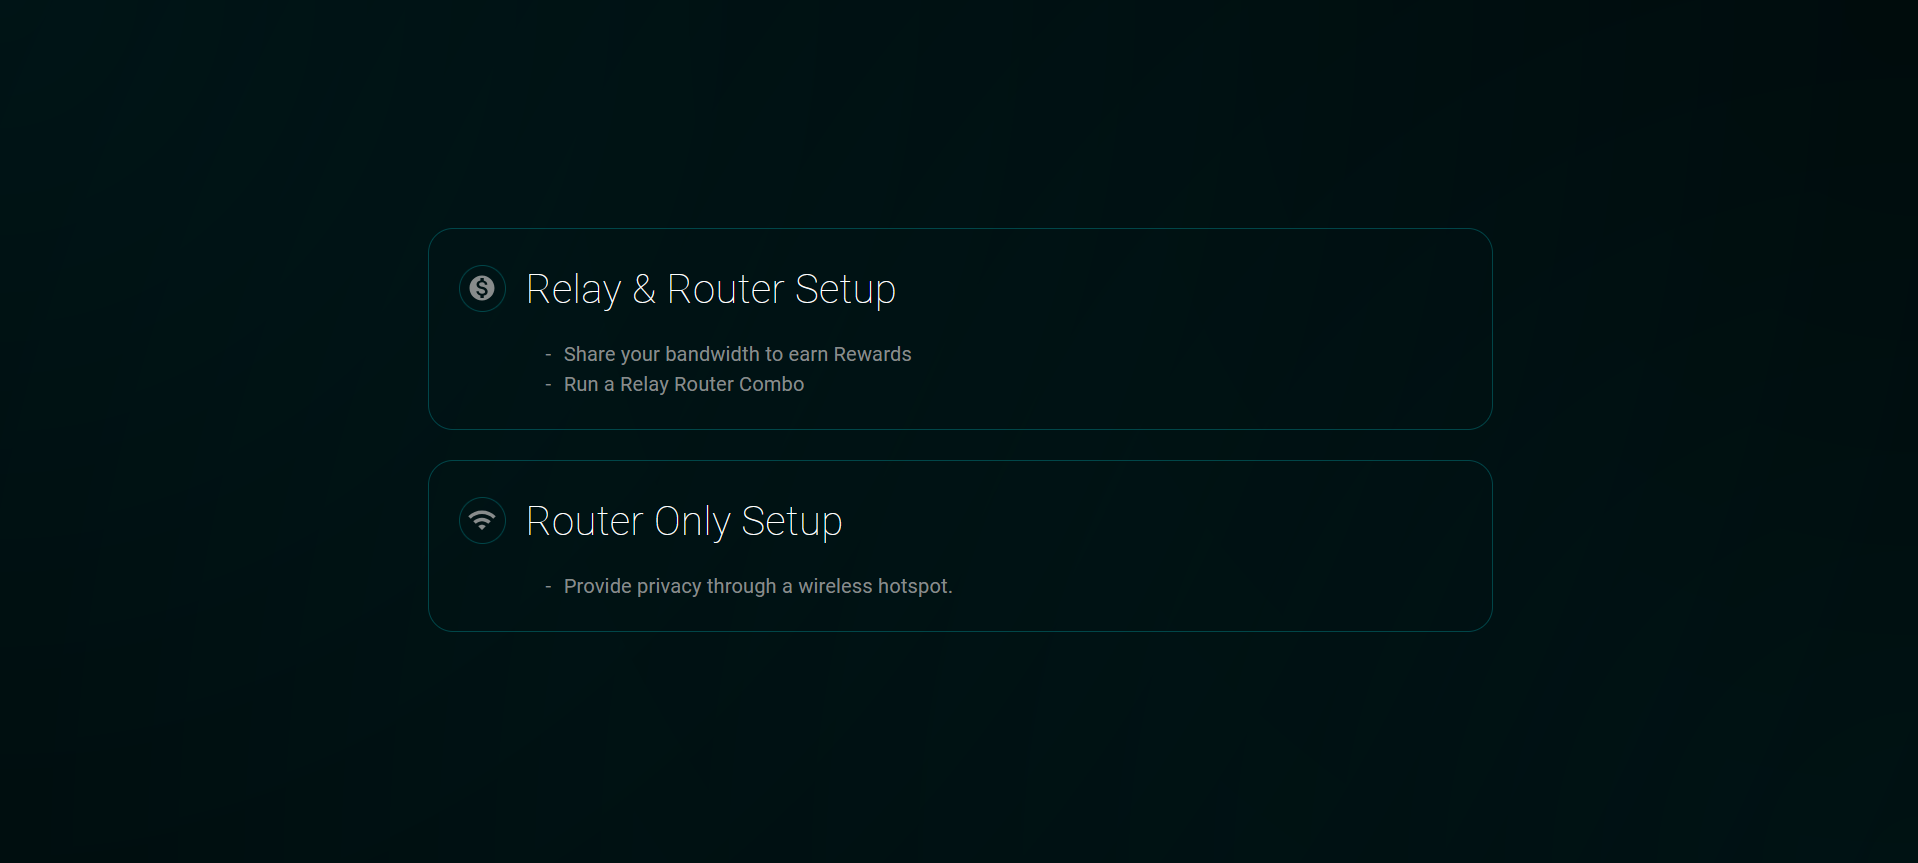
Relay Setup
8. Configure your internet connection
Options:
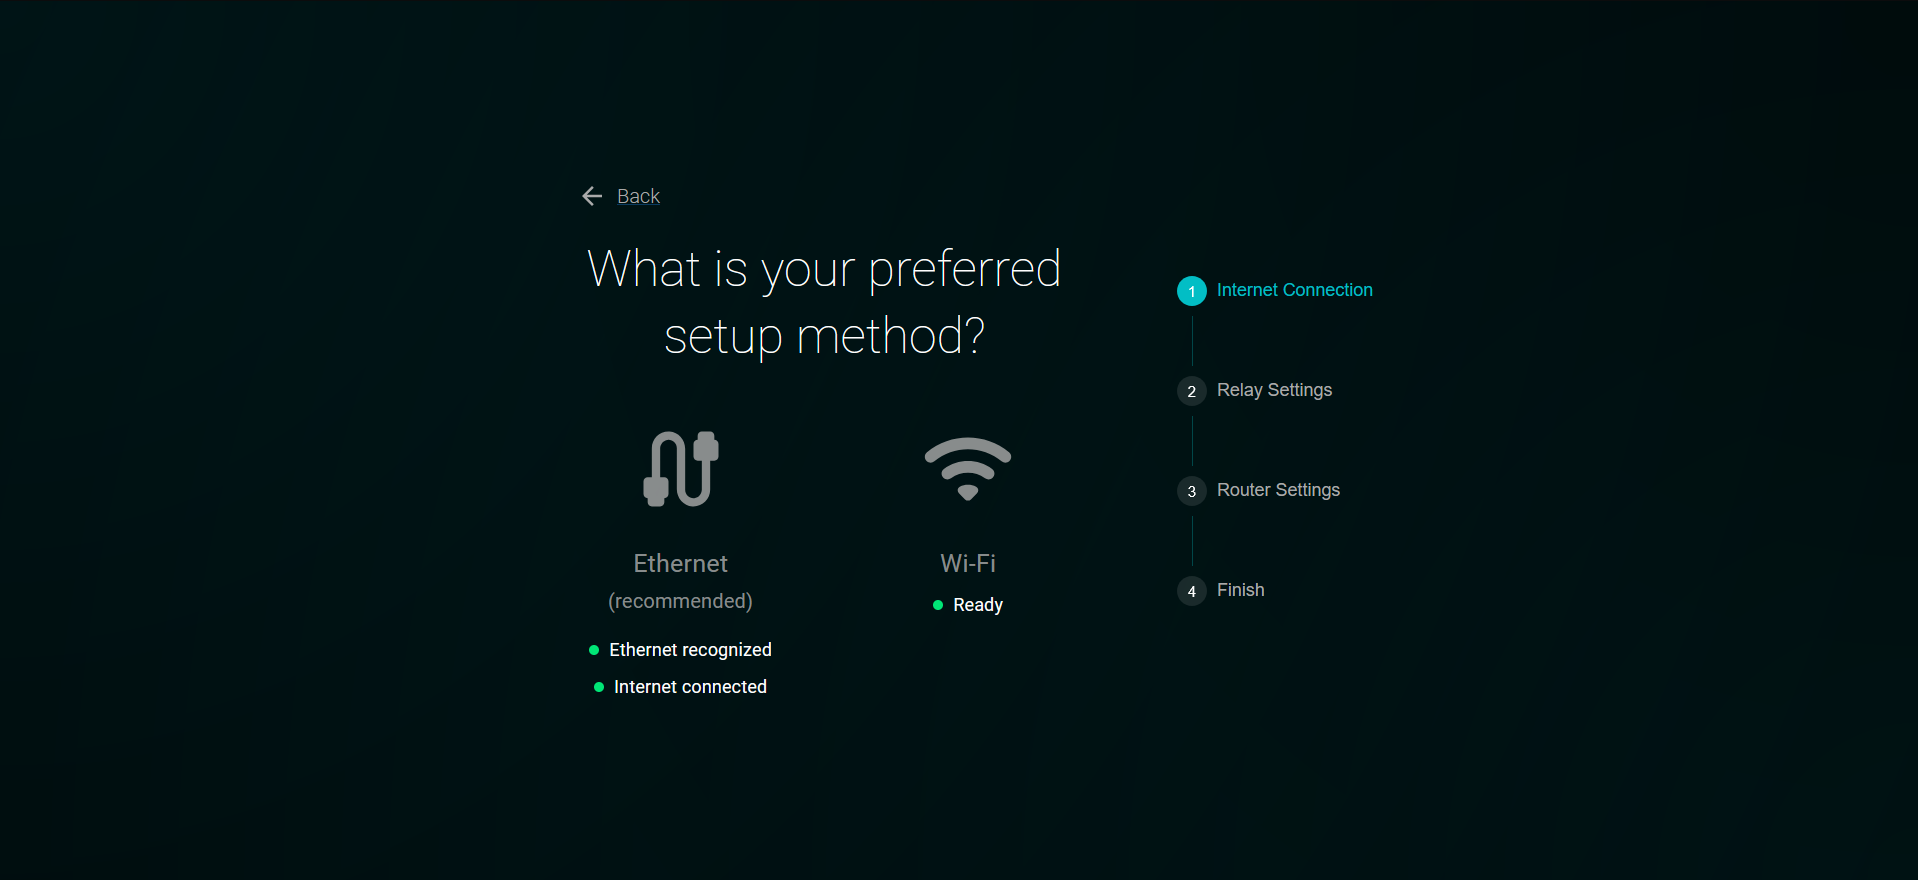
The Relay can be configured to connect to your Network Router using either an Ethernet cable or WiFi to access the Internet.
Ethernet
Connect an Ethernet cable to the device's Ethernet port and ensure that the message "Ethernet recognized" appears if you prefer a wired internet connection. Proceed to the Next step..
WiFi
If you prefer a WiFi connection, ensure that no Ethernet cable is inserted into the device, as this will prioritize the Ethernet connection over WiFi.
The Wi-Fi password can not contain any of the following characters:
# ' \ = ´ *
If it includes any of these characters, please change the password before attempting to connect the device.
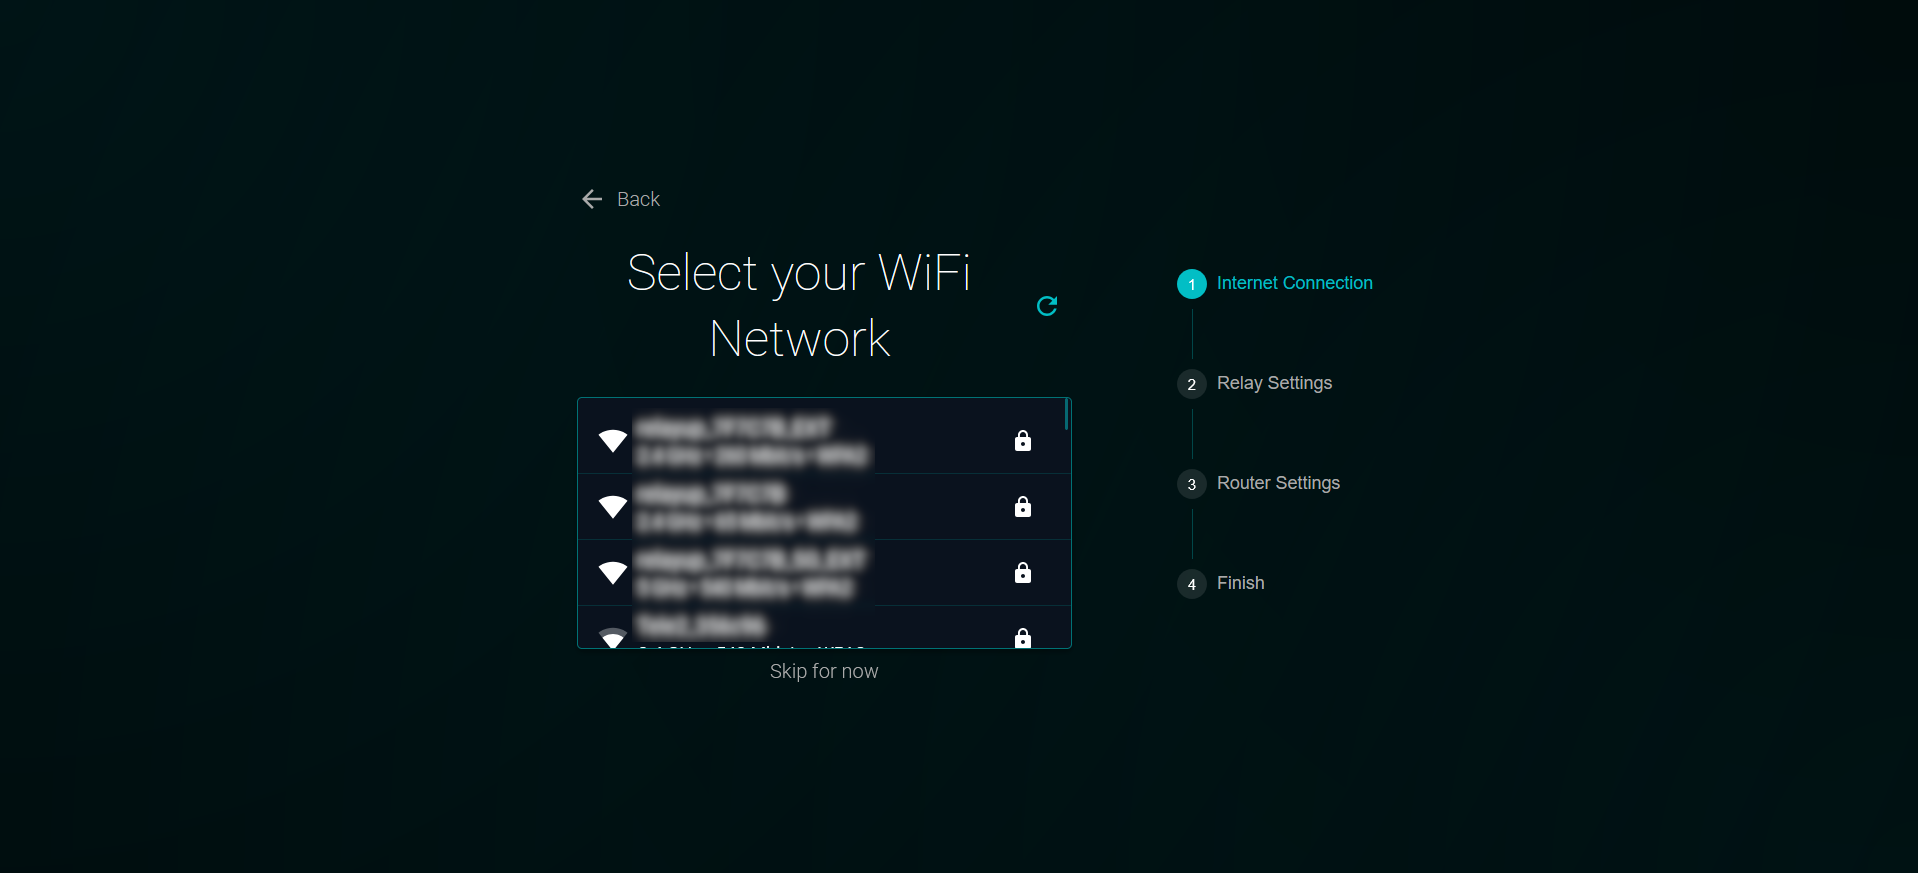
Select your Network.
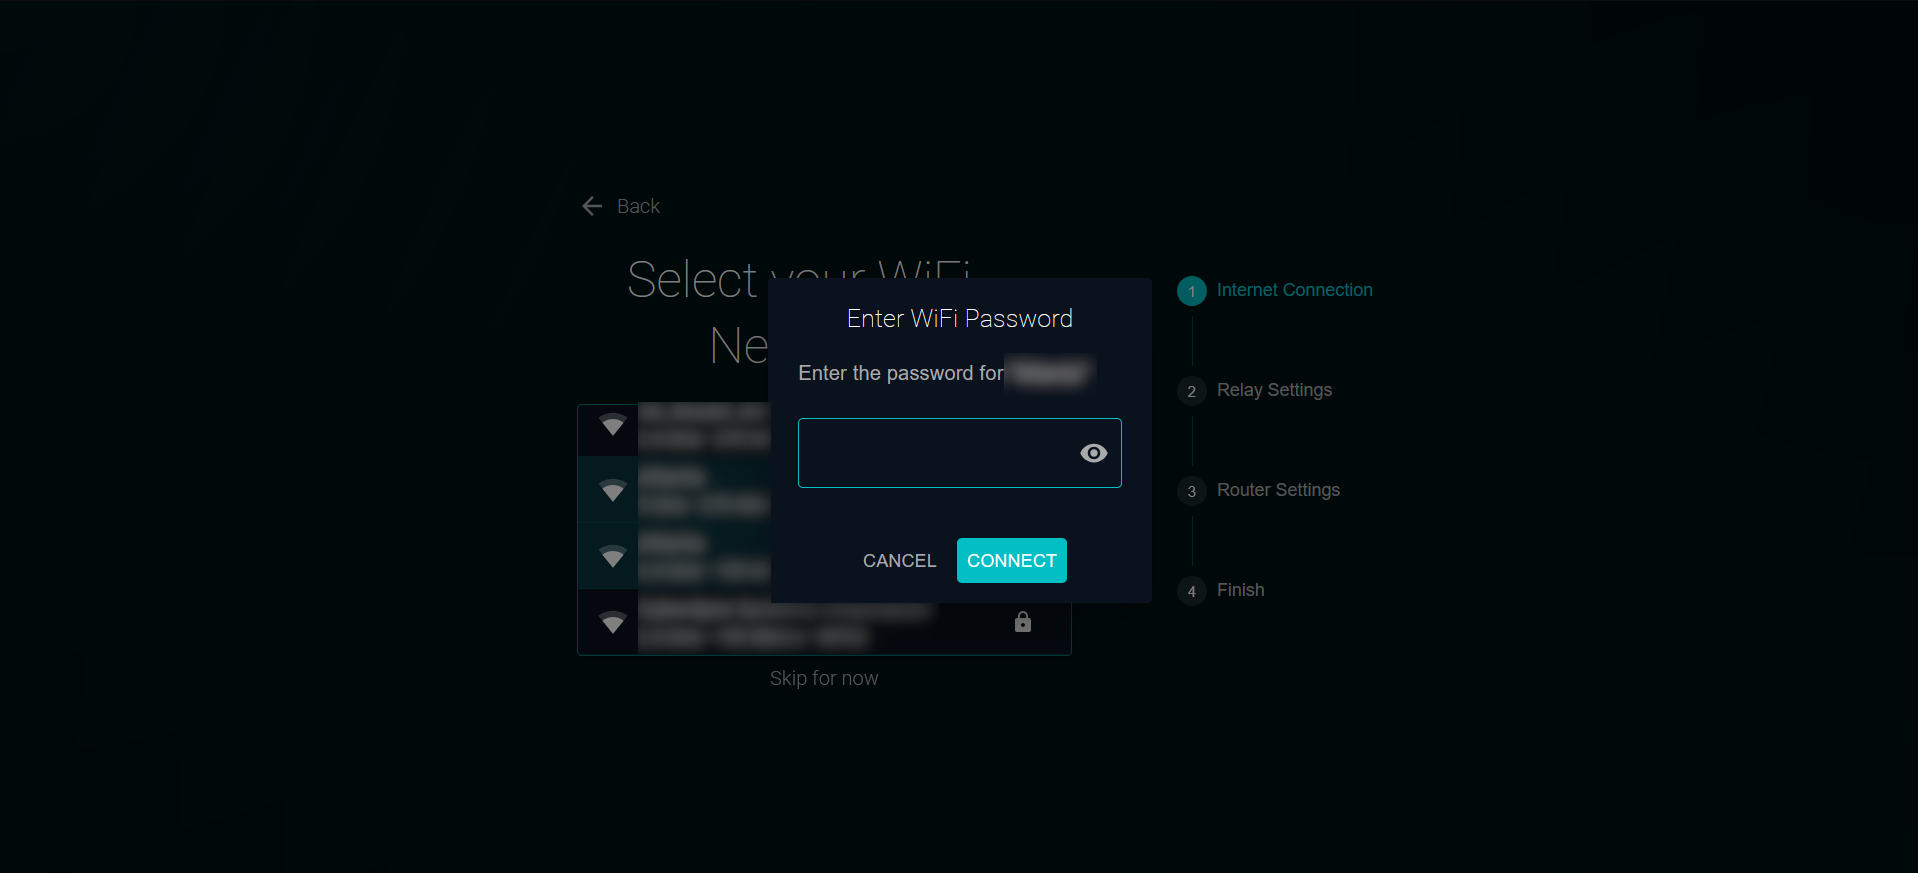
Enter the Passkey.
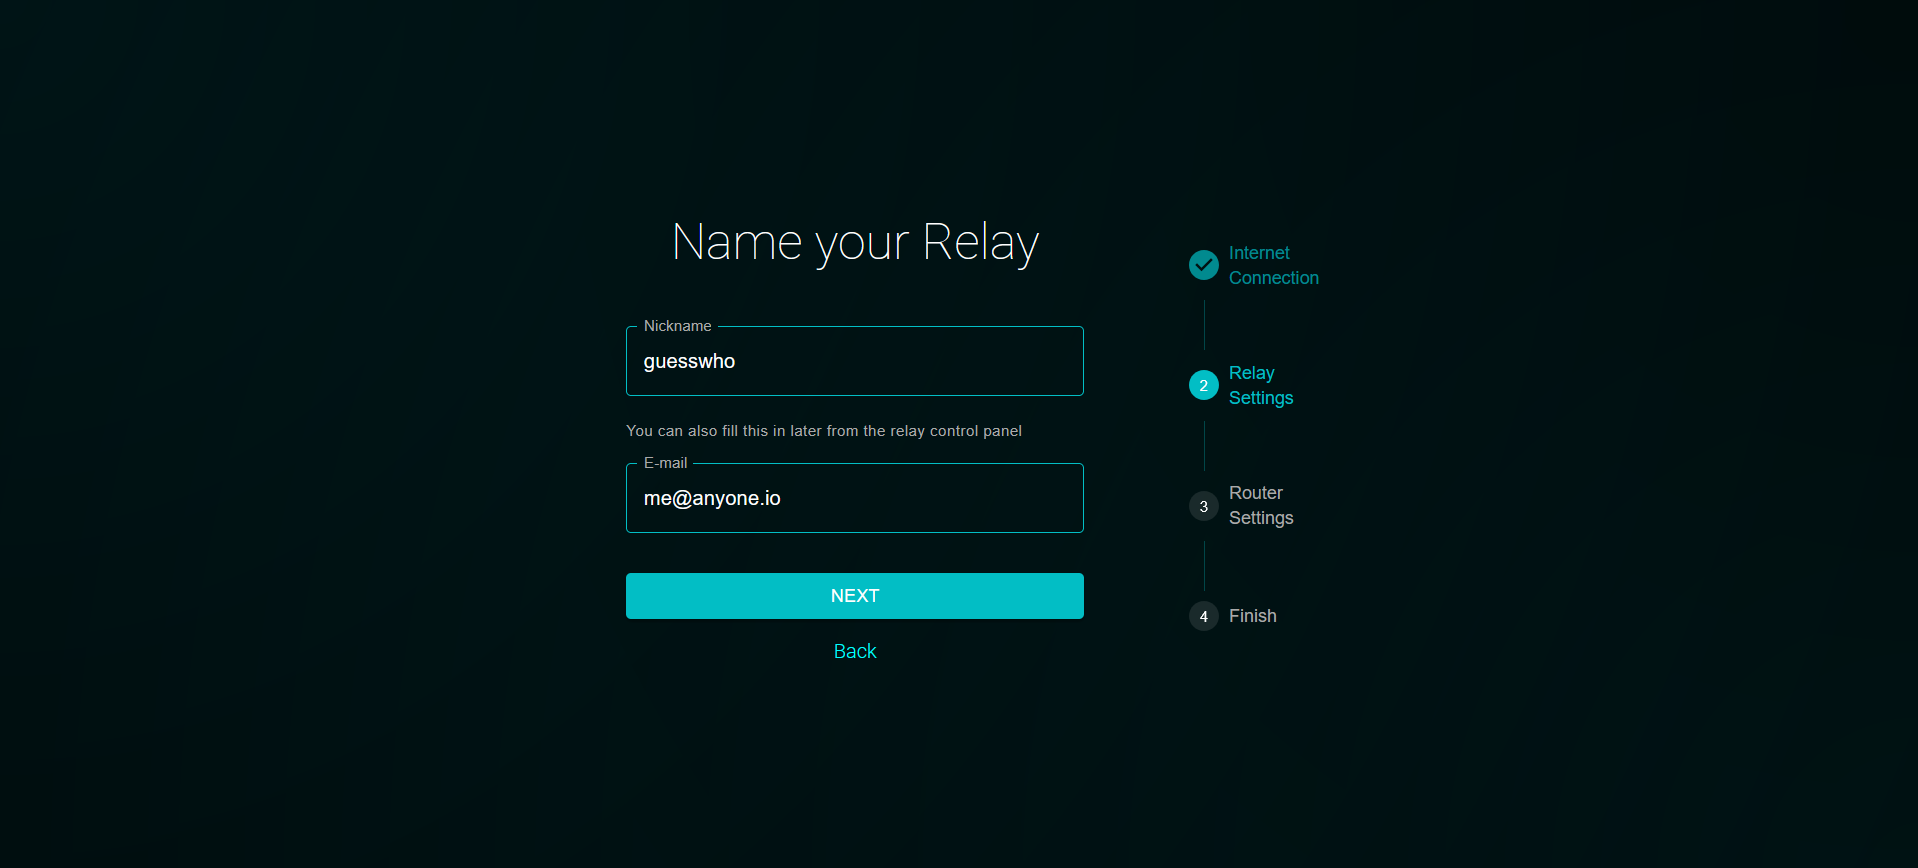
9. Relay Information
Enter your preferred nickname and email address in the Relay Contact Information. The email address must be valid for contact purposes.
Nickname only accepts between 1-19 characters, only [a-zA-Z0-9] and no spaces. It is recommended not to use a personal email address, instead create a new address for the purpose.
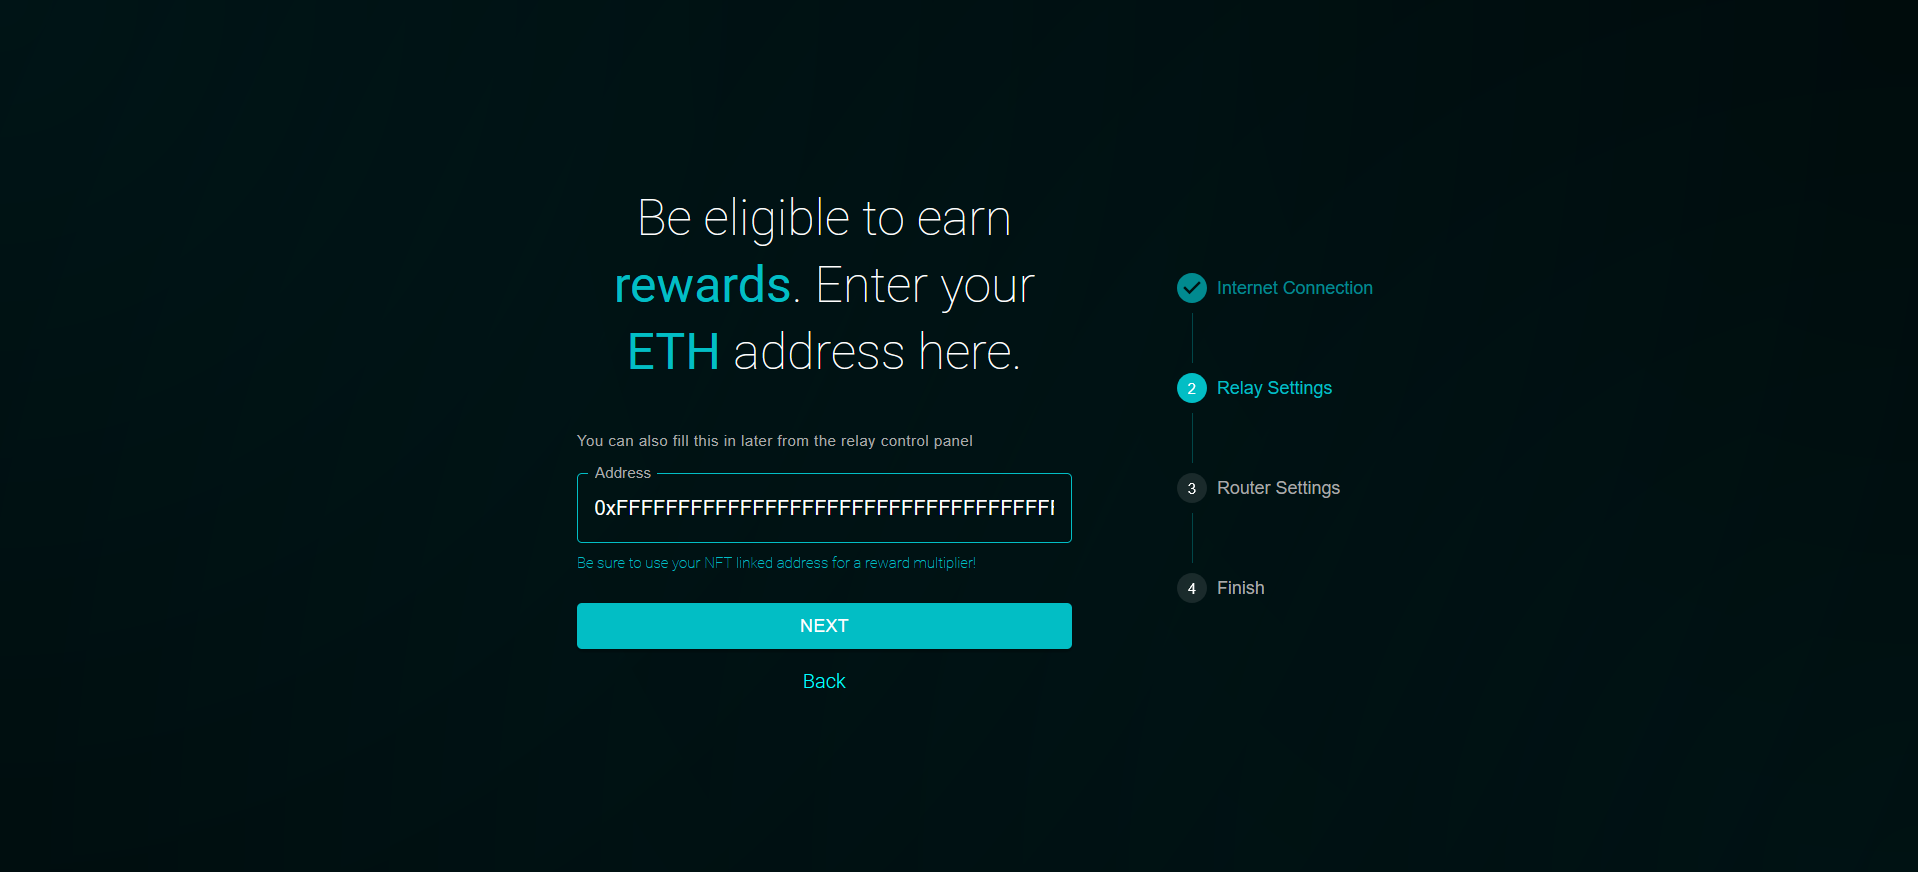
10. Recognition Rewards
Enter your Ethereum wallet address to register for rewards in the Rewards Program. Select Next to skip this step if you do not wish to enter a personal wallet address.
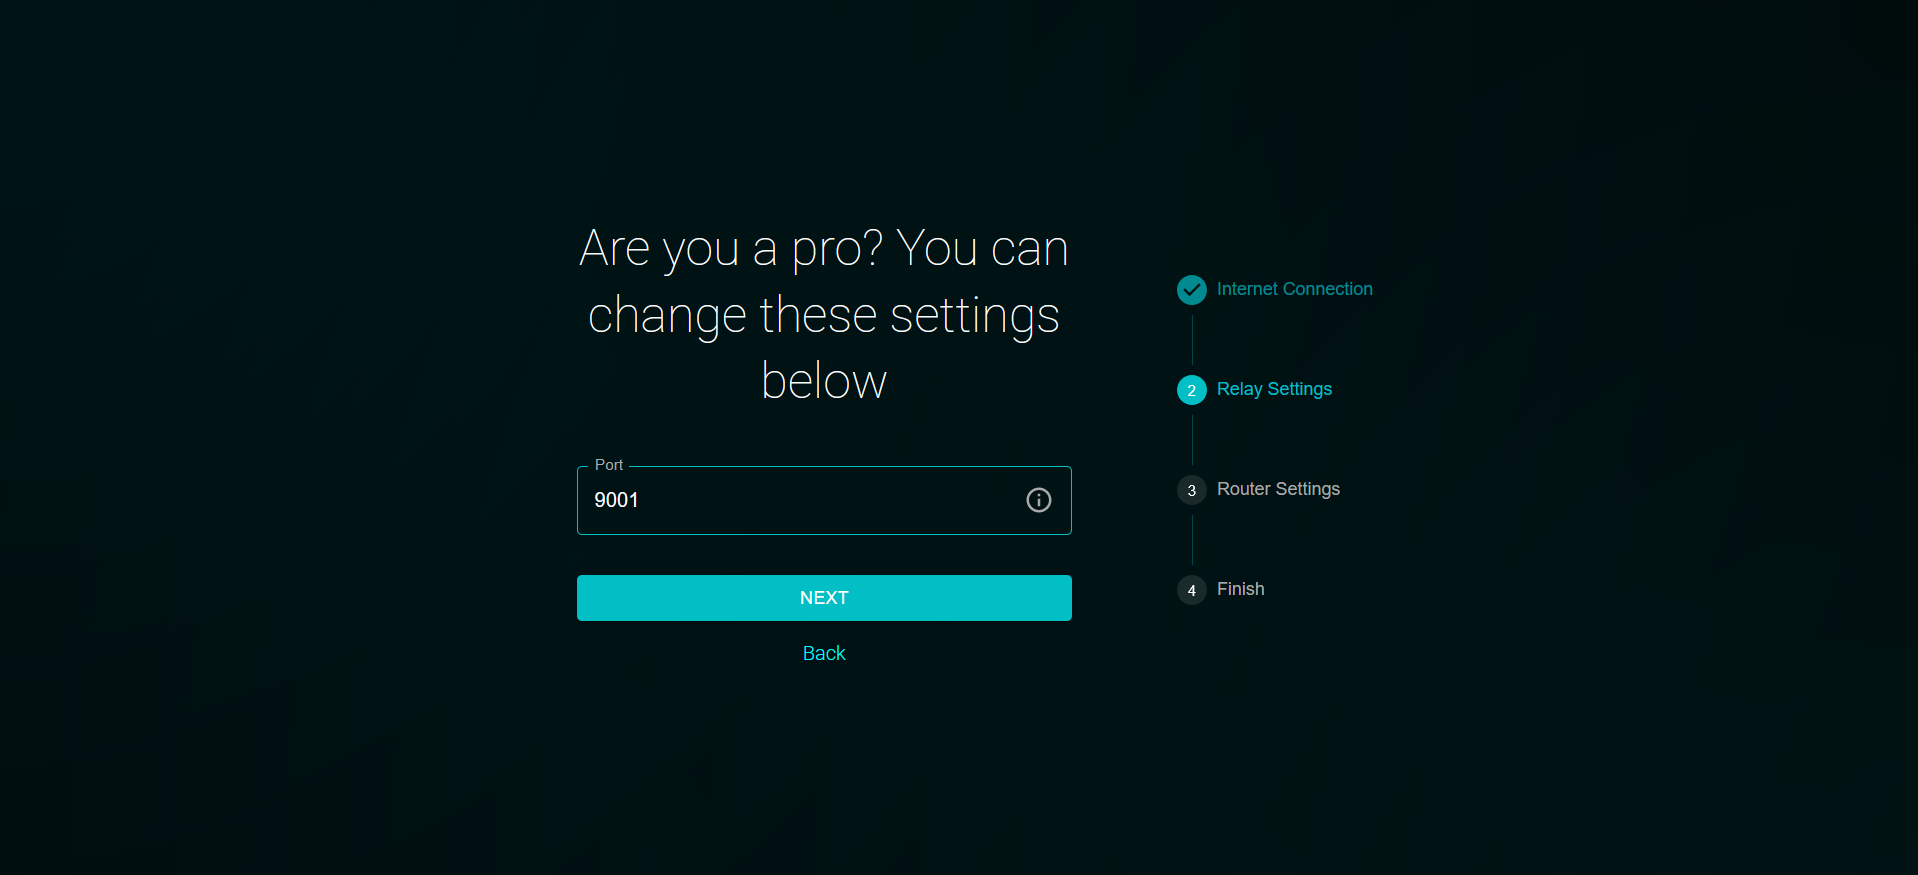
11. Default port for Relay traffic
The port can be changed to suit your needs if the default 9001 is already in use by another device on the same network to prevent routing conflicts.
12. Parallel Relay & Router mode
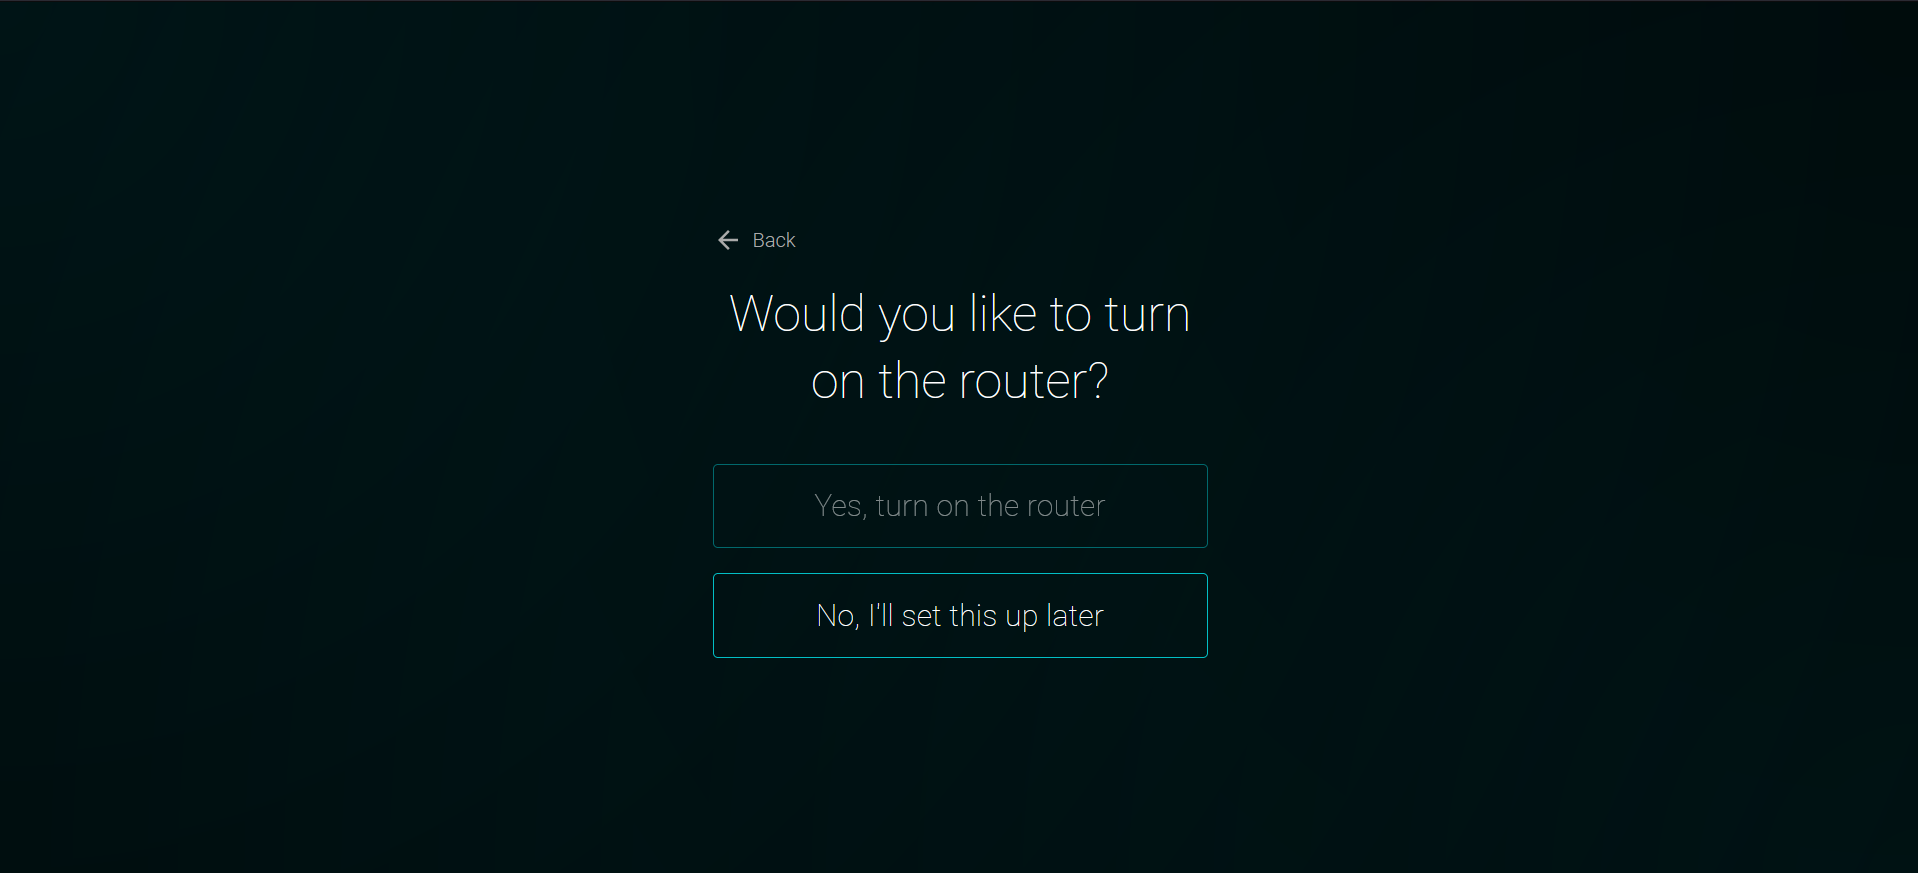
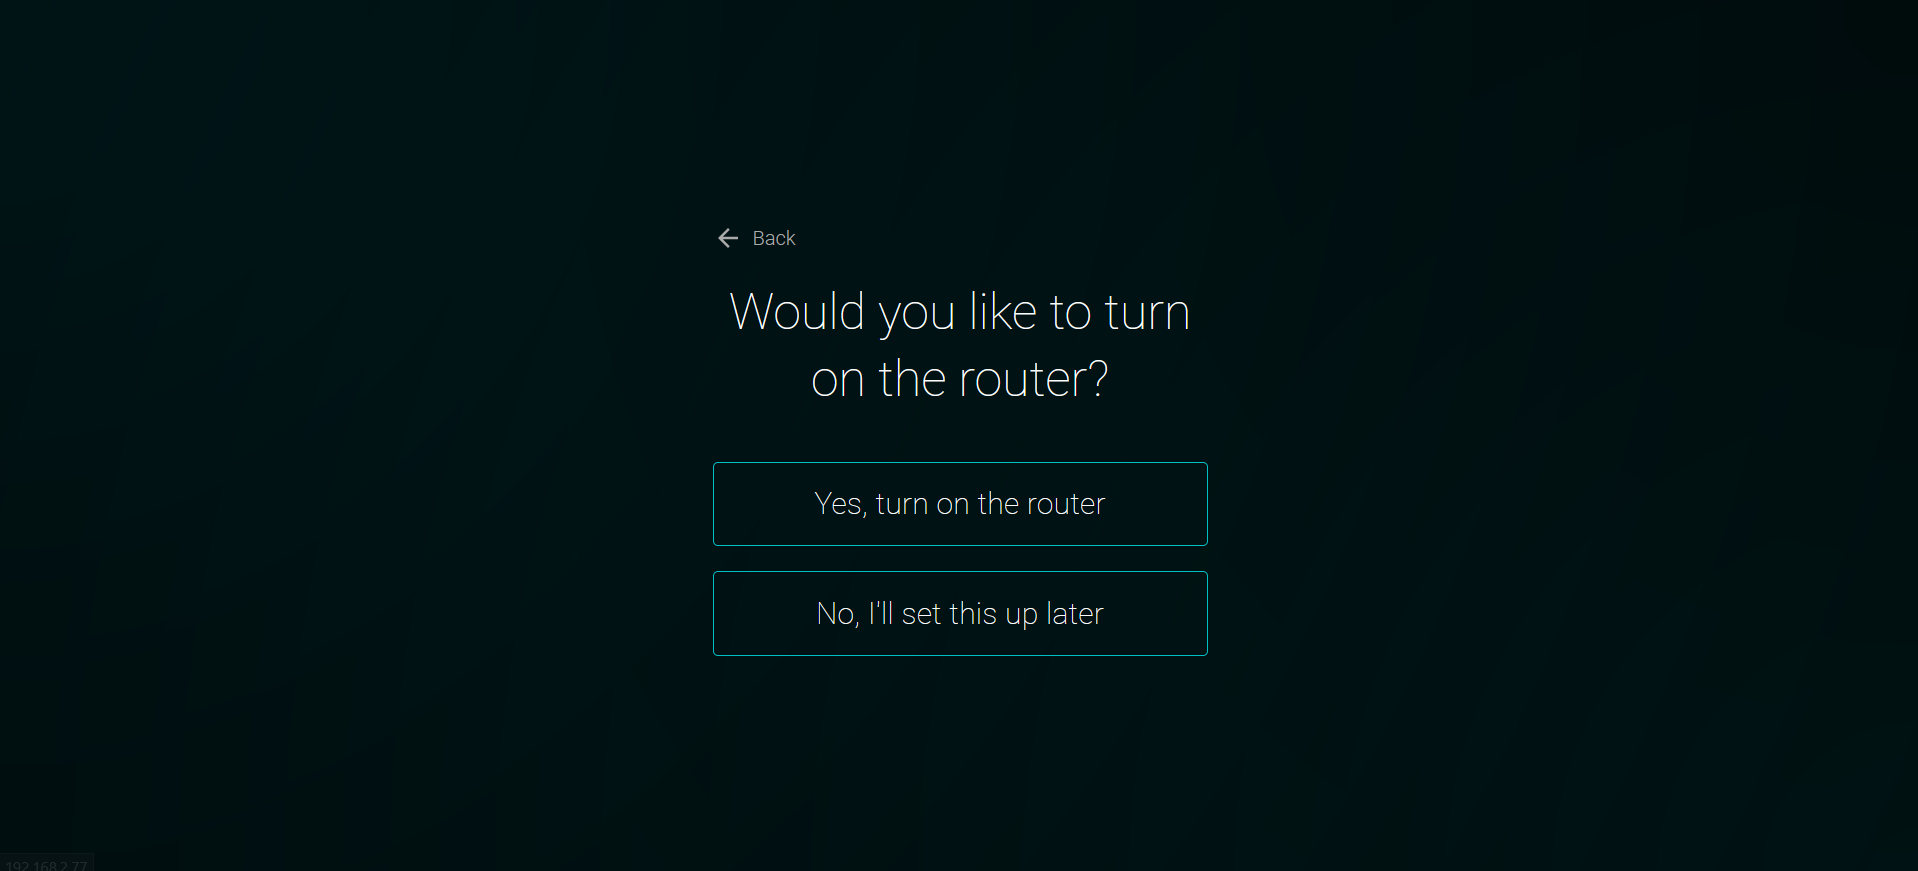
You can now choose whether to enable Router Mode for devices connecting to the hardware's WiFi hotspot.
This does not interfere with your relay's traffic. Instead, it uses the Anon Client to route all incoming traffic, including DNS requests, through the Anyone Network, encrypting the traffic and hiding the client's origin. Read more about the Router Mode features and functionality here.
Secondary WiFi Support
If the option appears grayed out, you can click Yes to learn more about it.
In this case, the device is missing a USB WiFi adapter needed to enable the second WLAN interface, but Ethernet is available. The latest batches of the hardware device come with an adapter.
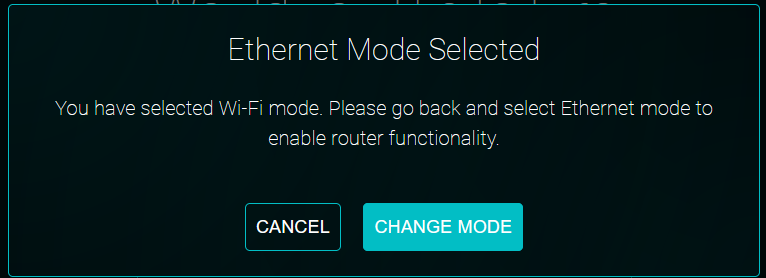
Currently, the device supports only one model for enabling WiFi-to-WiFi router functionality. To enable this feature, acquire a TP-Link (TL-WN725N) USB WiFi Adapter, plug it in, and restart the device.
Alternatively, you can select Ethernet as your Wide Area Network (WAN) connection to enable the option.
Click Yes to proceed if your device has all the necessary equipment plugged in.
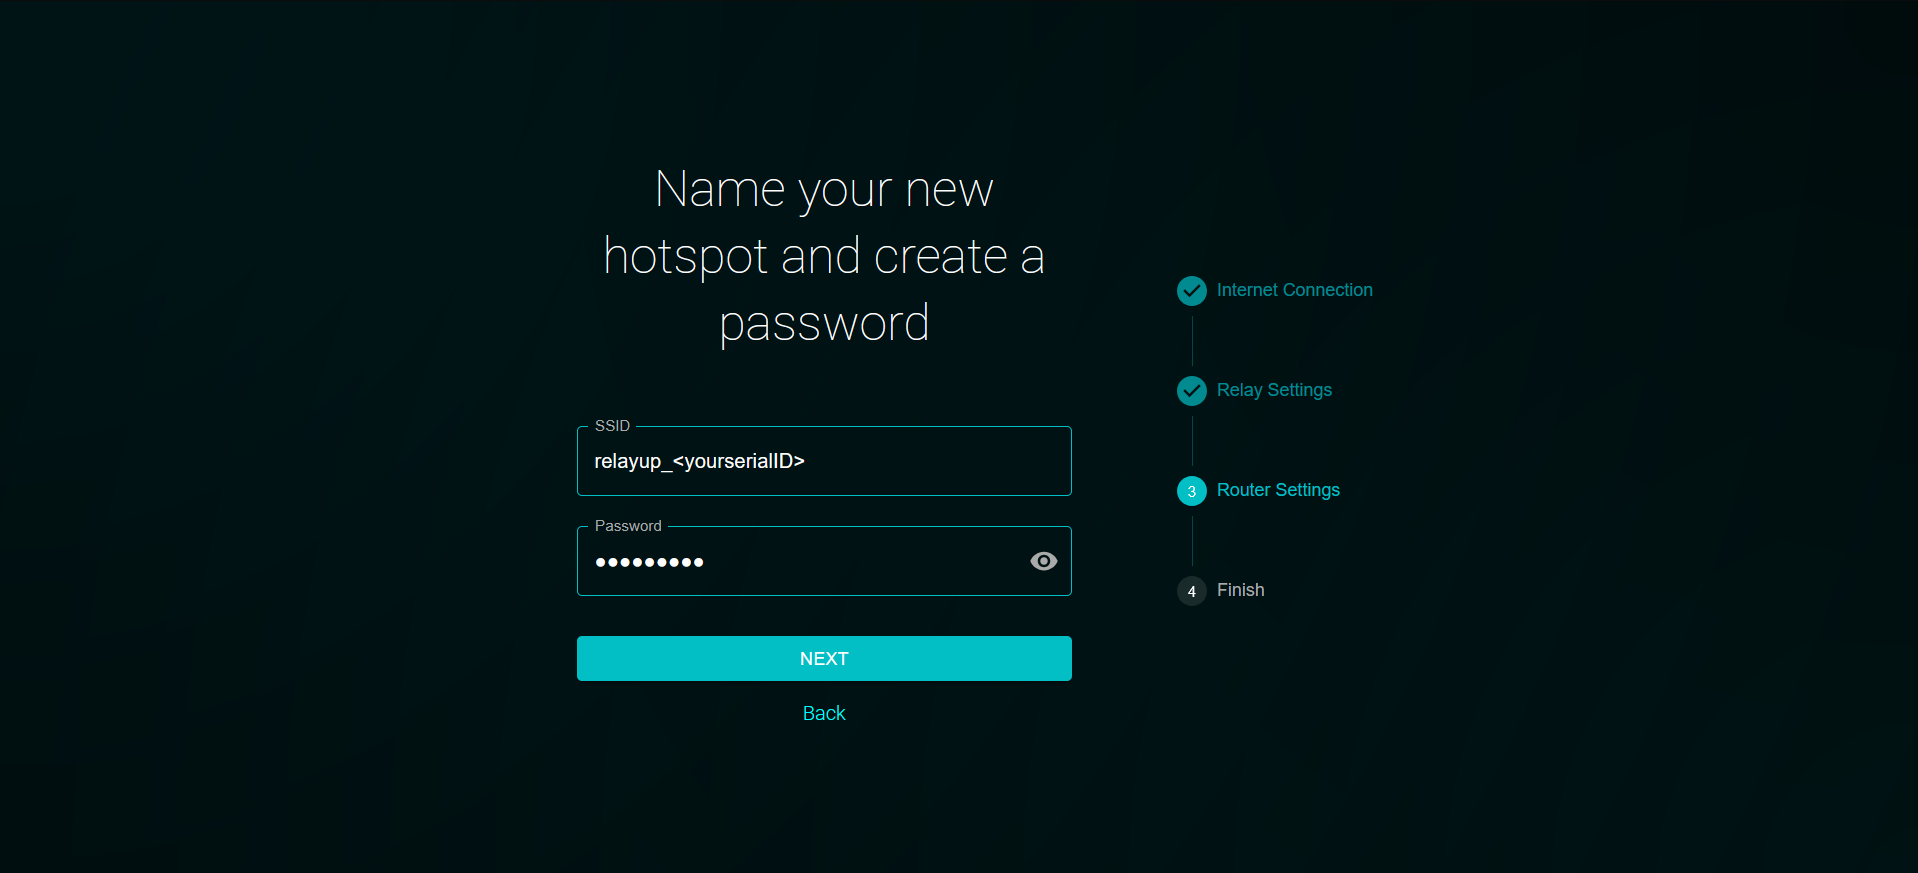
Name your hotspot however you like and set a personal passkey.
Be sure to save your credentials if you plan to share them with others to join your Anyone Network Hotspot or if you need to run the setup wizard again.
13. Complete Setup
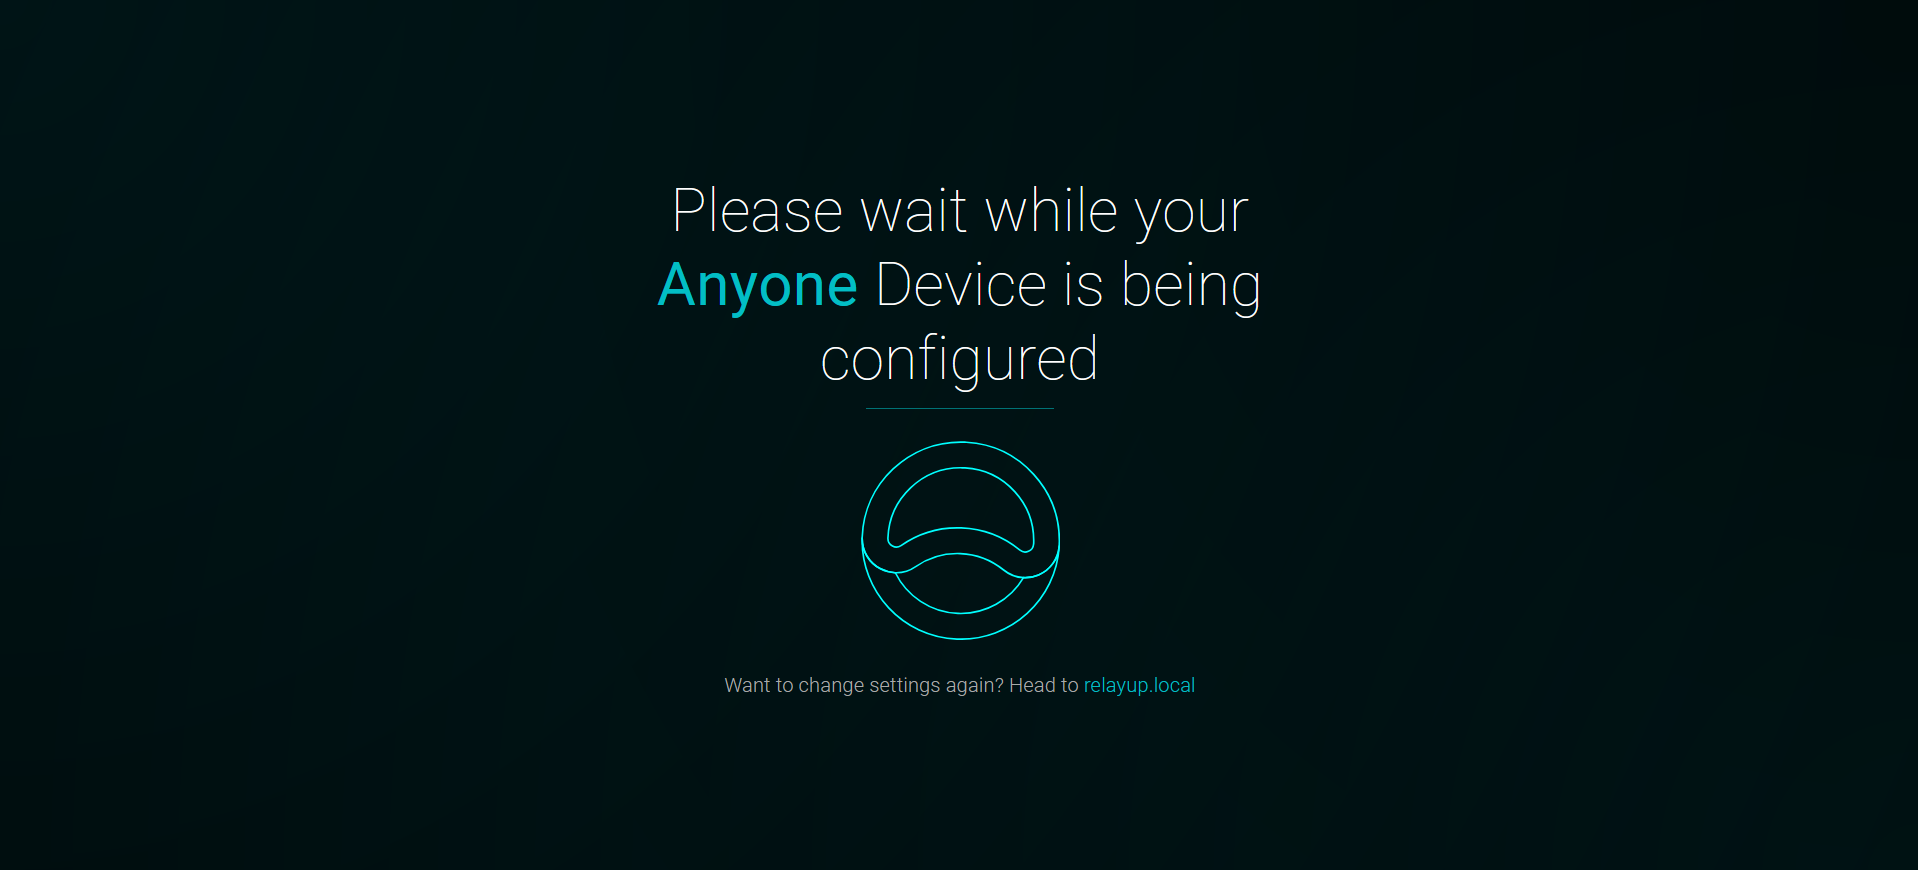
The setup is now complete, and the Relay will restart automatically.
Good job!
Check Light indicators for Connectivity
Depending on whether a wired Ethernet or a wireless WiFi connection was selected in the previous steps, the corresponding indicator light will turn green, both physically on the device and in the control panel.
Read more about the LED indicators under Description and Specifications.


Next step for Relay Operations:
To allow traffic to reach your device you will need to create a Port Forwarding Rule in your network router to ensure the Relay's reachability on the Anon network.
Requirements for confirming reachability
Port forward Configure a port forward in the router. Instructions can be found here. Public IPv4 address Ensure the router has an exclusive public IPv4 address for the Relay's reachability. More information can be found here.
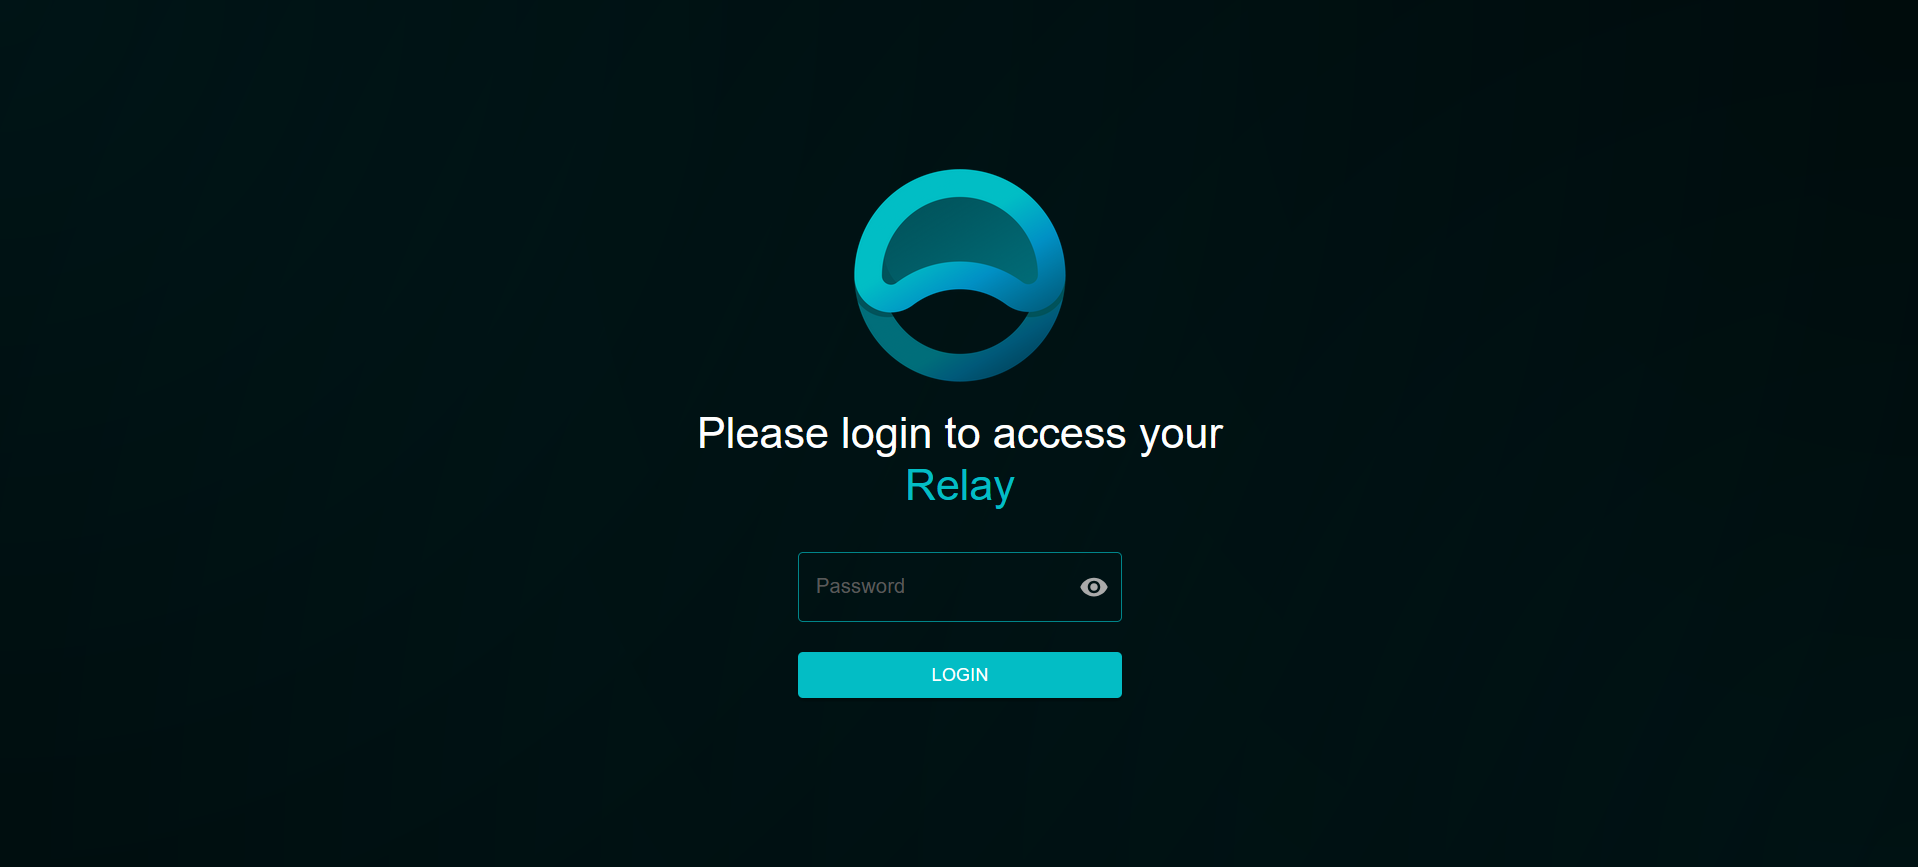
Connect to the Relay Control Panel (RCP)
From a device connected to the same network as the Relay, browse to http://relayup.local or the IP of the device and log in using the following Credentials:
Username:
relayupPassword:
admin
If the DNS name relayup.local doesn't resolve to show the RCP login screen in your browser:
See Relay Control Panel > Home for help finding the LAN IP of your device to use instead.
Reachability and Bandwidth Self-Tests
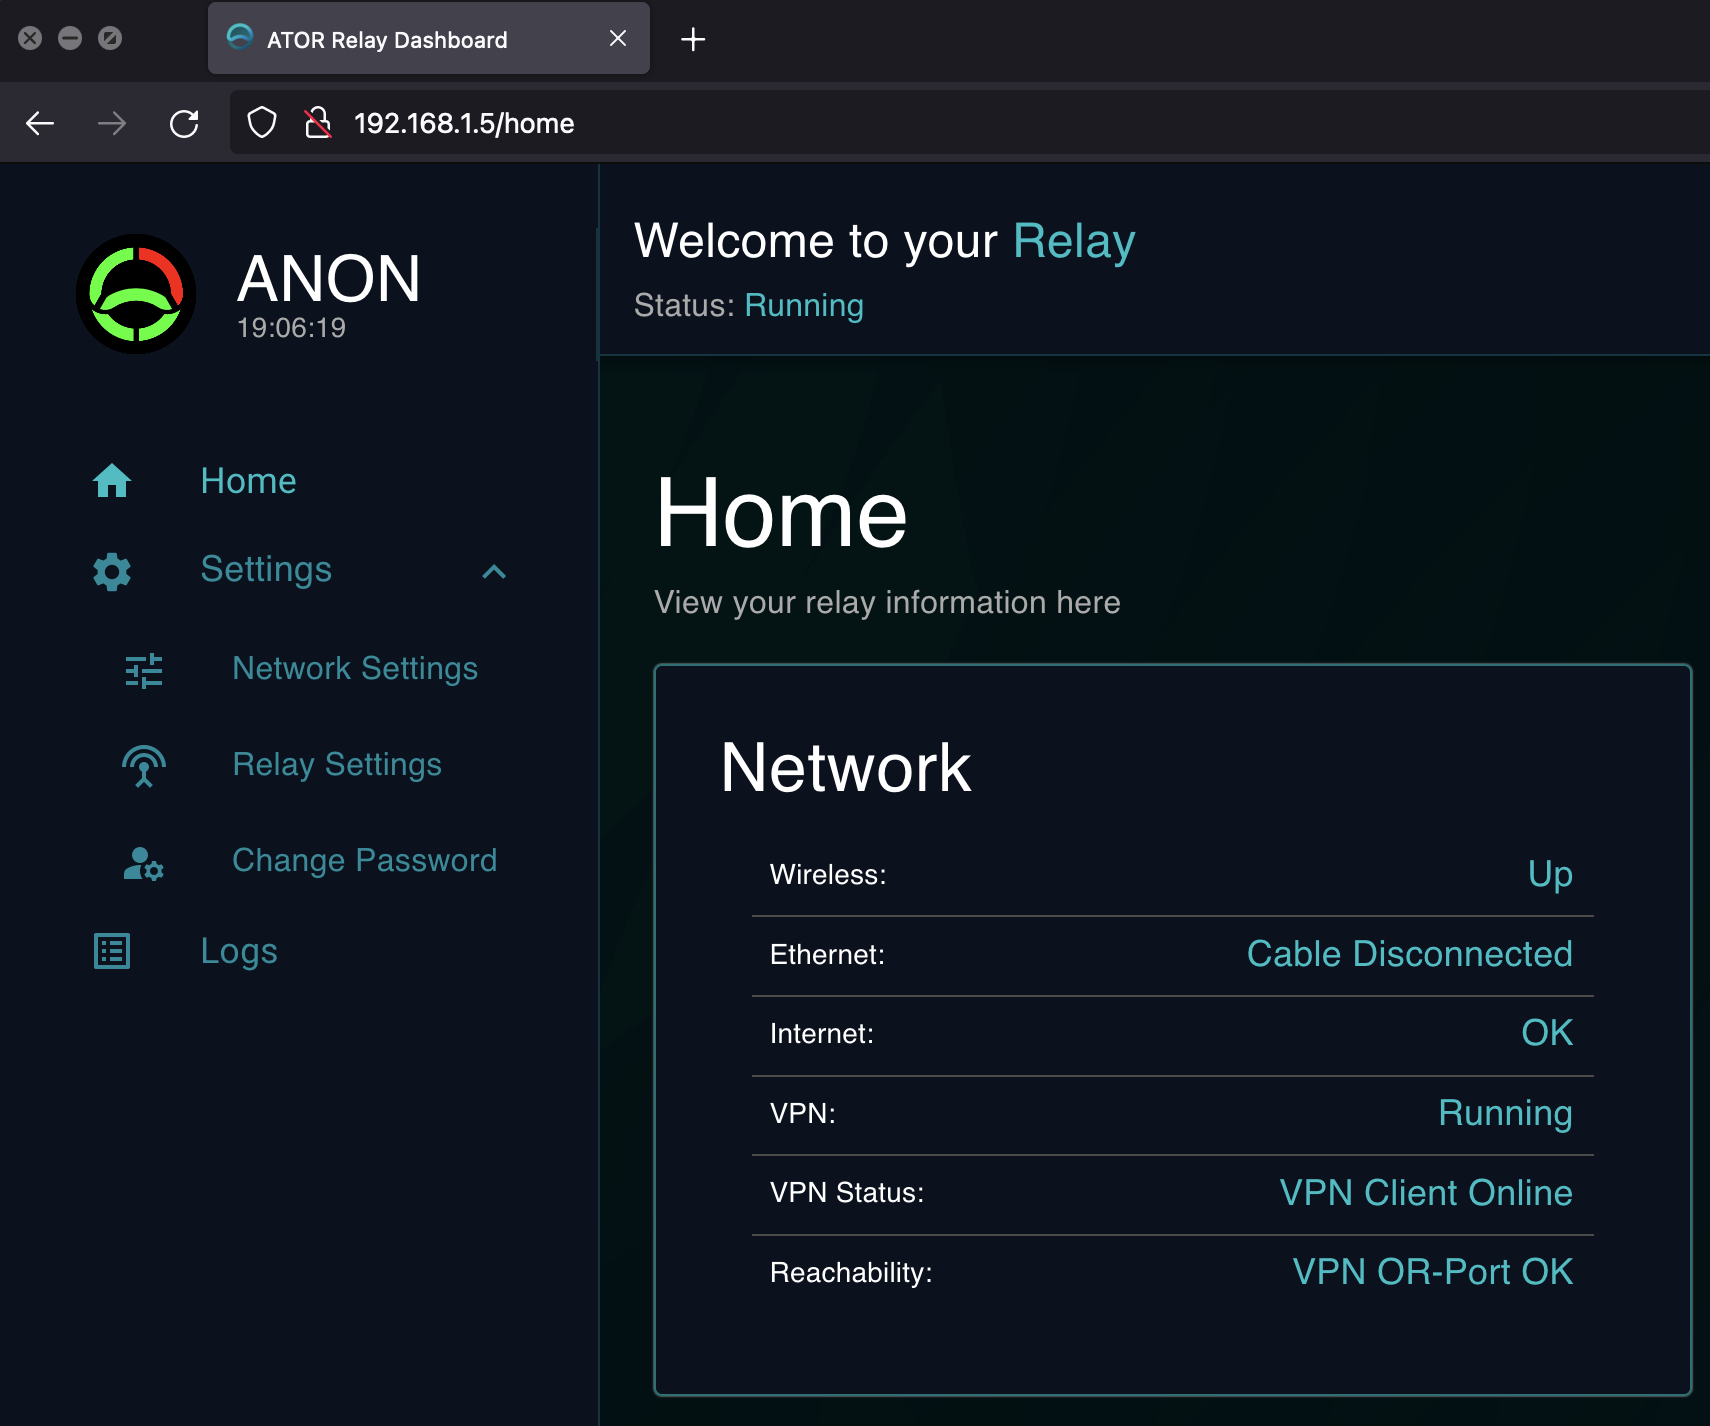
On the 'Home' page, under the 'Network' section, check for the "Reachability" status indicated with "VPN OR-Port [status]."
The Reachability and Bandwidth self-tests take a few minutes to perform. Check the logs in the control panel for more details on the process.
Reachability is Confirmed!

Once the "Reachability" status is 'OK', all lights on the Relay will start pulsing in the Anon blue color, indicating a successful setup.
Congratulations! Your relay is now ready to provide bandwidth to the Anyone Network, and with some additional steps, enhance the privacy in your daily Internet use if you also enabled the Router feature, and receive contribution rewards!
If you enabled the router mode!
Connect to the available WiFi SSID that you configured in the setup wizard and use it like any other network to browse the web anonymously. Ensure your personal security is up to date as well. The connection doesn't provide all-encompassing protection for your web traffic; it merely encrypts data in three layers before exiting the onion routing, hiding the origin of users. Make sure your applications, browser, and operating system settings are also secure. Additional steps:
Confirm your anonymous IP at https://check.en.anyone.tech.
Take a moment to visit our homepage mirror, located only inside the Anyone Network: http://anyone.anon
Which resolves to the hostname: 6zctvi63m7xxbd34hxn2uvnaw5ao7sec4l3k4bflzeqtve5jlehz6tyd.anon
What's next?
Claim your Relay in the Relay Dashboard!
By Claiming the Relay on the Relay Dashboard you can start accruing rewards. Follow the link below to find out more about how to access the dashboard.
Note:
It may take up to 24 hours for the Relay Dashboard hosted on Arweave to recognize and verify your relay on the network. Please stay tuned and periodically check the dashboard to claim your relay.
Last updated